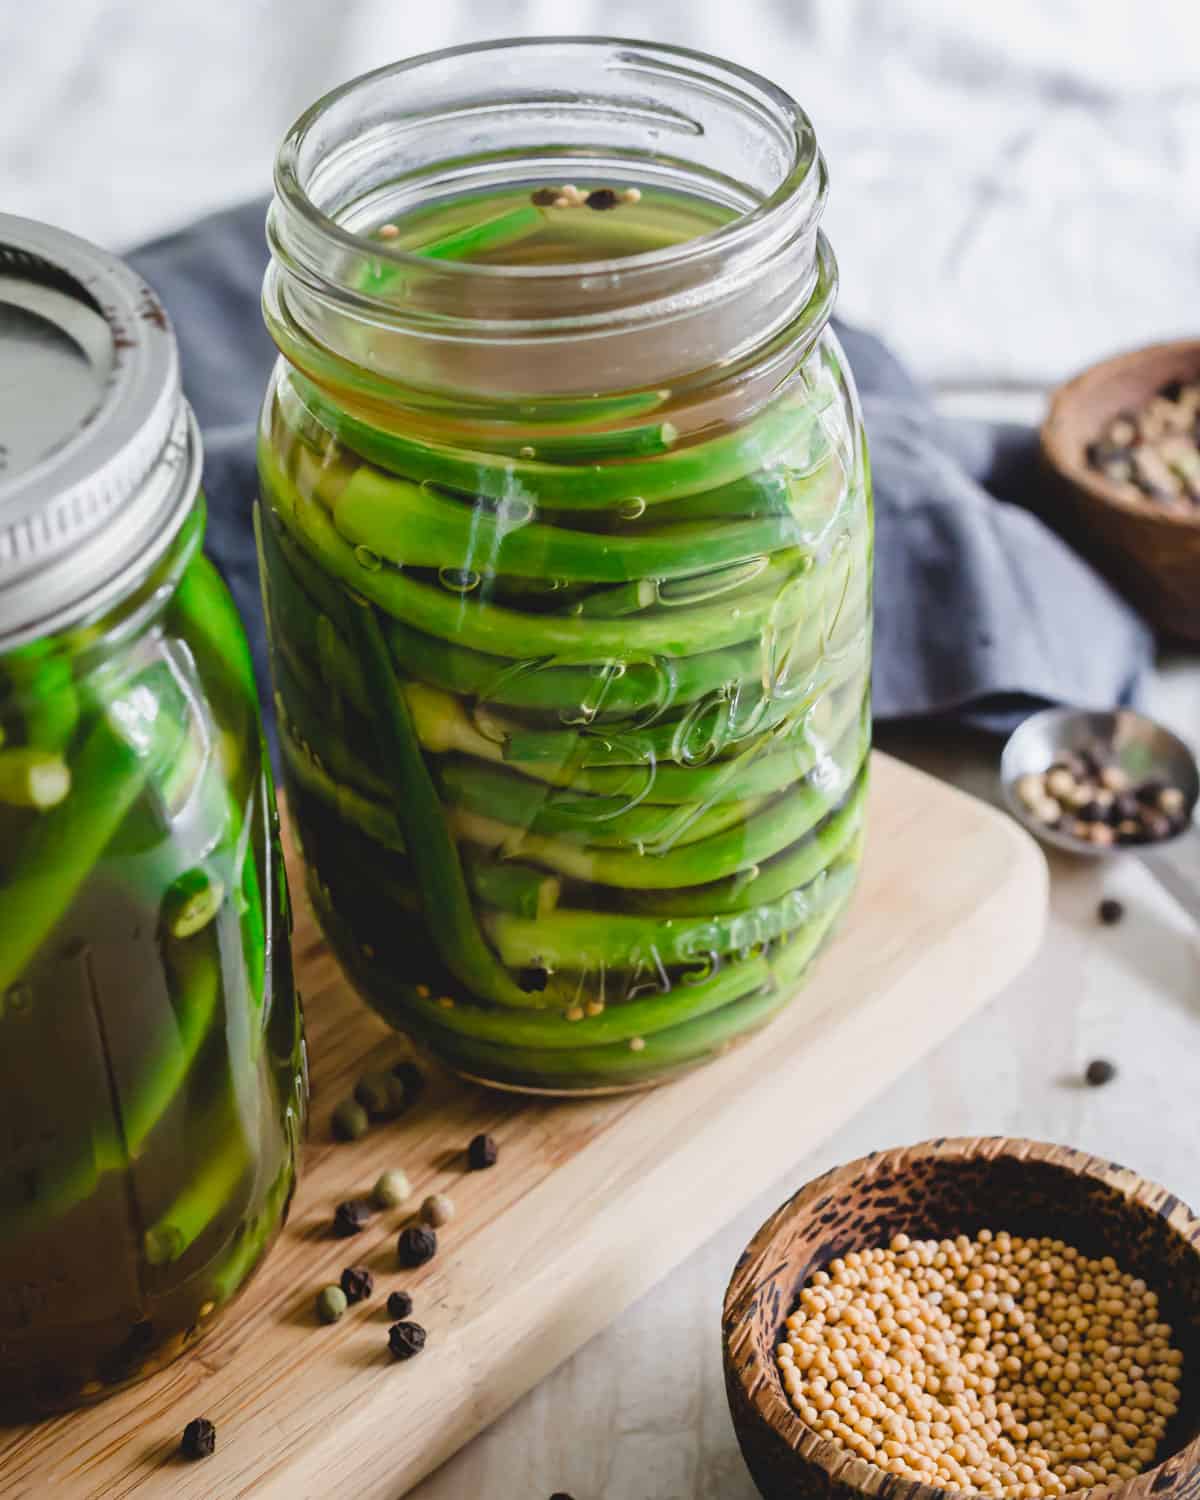
This no-canning recipe for pickled garlic scapes is the easiest and quickest way to enjoy these tangy summer-time delights! They make a delicious addition to everything from burgers to salads, charcuterie boards and more!
If you’ve ever been to a farmer’s market in late spring/early summer chances are you’ve seen garlic scapes before.
While some grocery stores are getting with the times, these fun curly tops of the garlic plant are usually reserved for the quirky type (hi, me) that frequent farmer’s markets for the weirdest produce they can find.
I’ve made garlic scape pesto with soba noodles before and I’m betting if you’ve ever bought garlic scapes, you have too.
It’s kind of the most popular recipe to use when finding yourself with a bunch.
But this year, after a round of pesto and a round of grilled garlic scapes (that’s fun!), I decided to pickle the last bunch I bought.
I thought hey, I love fermented vegetables, spicy garlic dill pickles and anything else pickled so why the heck not try the same approach with garlic scapes?
Turns out, that was one of my best ideas of the year so far.
Now that I’ve been enjoying them (a few weeks later) after their pickling stint in the fridge, I realize how amazing of an addition they make to almost any meal.
From sandwiches to burgers to salads and even charcuterie boards, pickled garlic scapes add the perfect pop of garlicky tang to each bite.
The pickling process mellows the intense garlic flavor to a manageable level (if you’ve eaten garlic scape pesto you know that’s a feat) and really transforms these eccentric greens into something you’re going to want on hand all the time.
If you think garlic scapes are still too pungent after pickling, try pickled shallots instead.
WHAT ARE GARLIC SCAPES
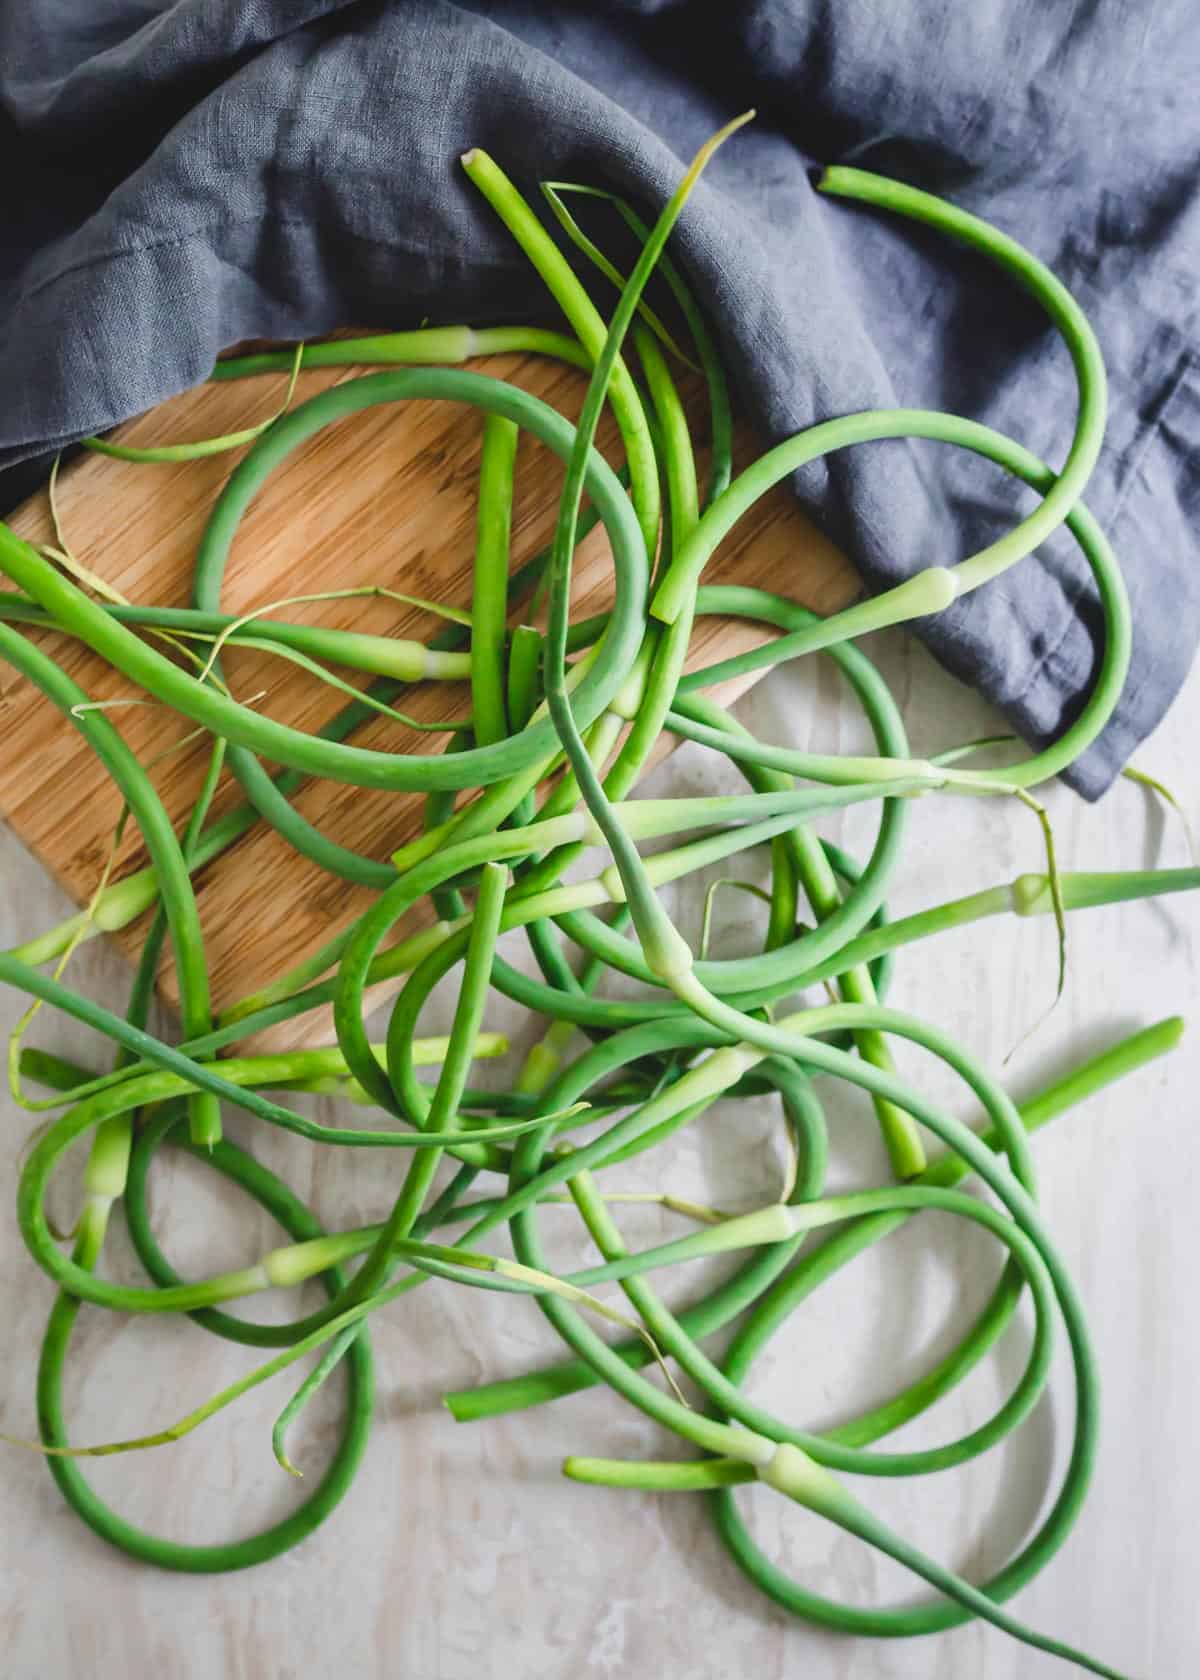
Garlic scapes are the green part of the plant that you see above ground when growing garlic.
Interestingly, the scapes must be removed from the garlic plant otherwise the bulb of garlic will be very small.
Both the green stem and the whiter “bulb” looking flower bud of the scape are edible.
They can be as thin as a chive or as thick as a green bean or green onion and if you love garlic flavor, you’ll love garlic scapes as much as the garlic bulbs.
Their season is pretty short.
At best, you’ll get a month in the late spring or early summer where they’ll be available so pickling the scapes is a great way to preserve some for all-year consumption!
HOW TO EAT PICKLED GARLIC SCAPES
Once pickled, the garlic scapes become fair game for SO many uses!
Try them on a burger instead of pickles. They’d be great on elk burgers for some flavor.
That said, they’re equally as delicious alongside a hot dog with mustard and sauerkraut. Double win for pickled and fermented toppings with that combination!
If you want to try your hand at making your own sauerkraut, try this fermented red cabbage recipe.
You can chop up the scapes and throw them in salads, hashes like this quick sweet potato hash or a stir fry.
Consider adding them to a charcuterie board much like you would pickles or cornichons. Arrange some pickled pineapple or pickled blueberries next to them.
They’re also a great pizza topping and for the most dedicated, a delicious snack all by themselves straight out of the jar!
They have great texture and crunch with lots of pickle flavor so basically, anywhere you’d use a pickle, you can use pickled garlic scapes.
WHAT’S NEEDED TO PICKLE GARLIC SCAPES
Since this is a no-canning method for pickling garlic scapes, there’s no fancy equipment needed!
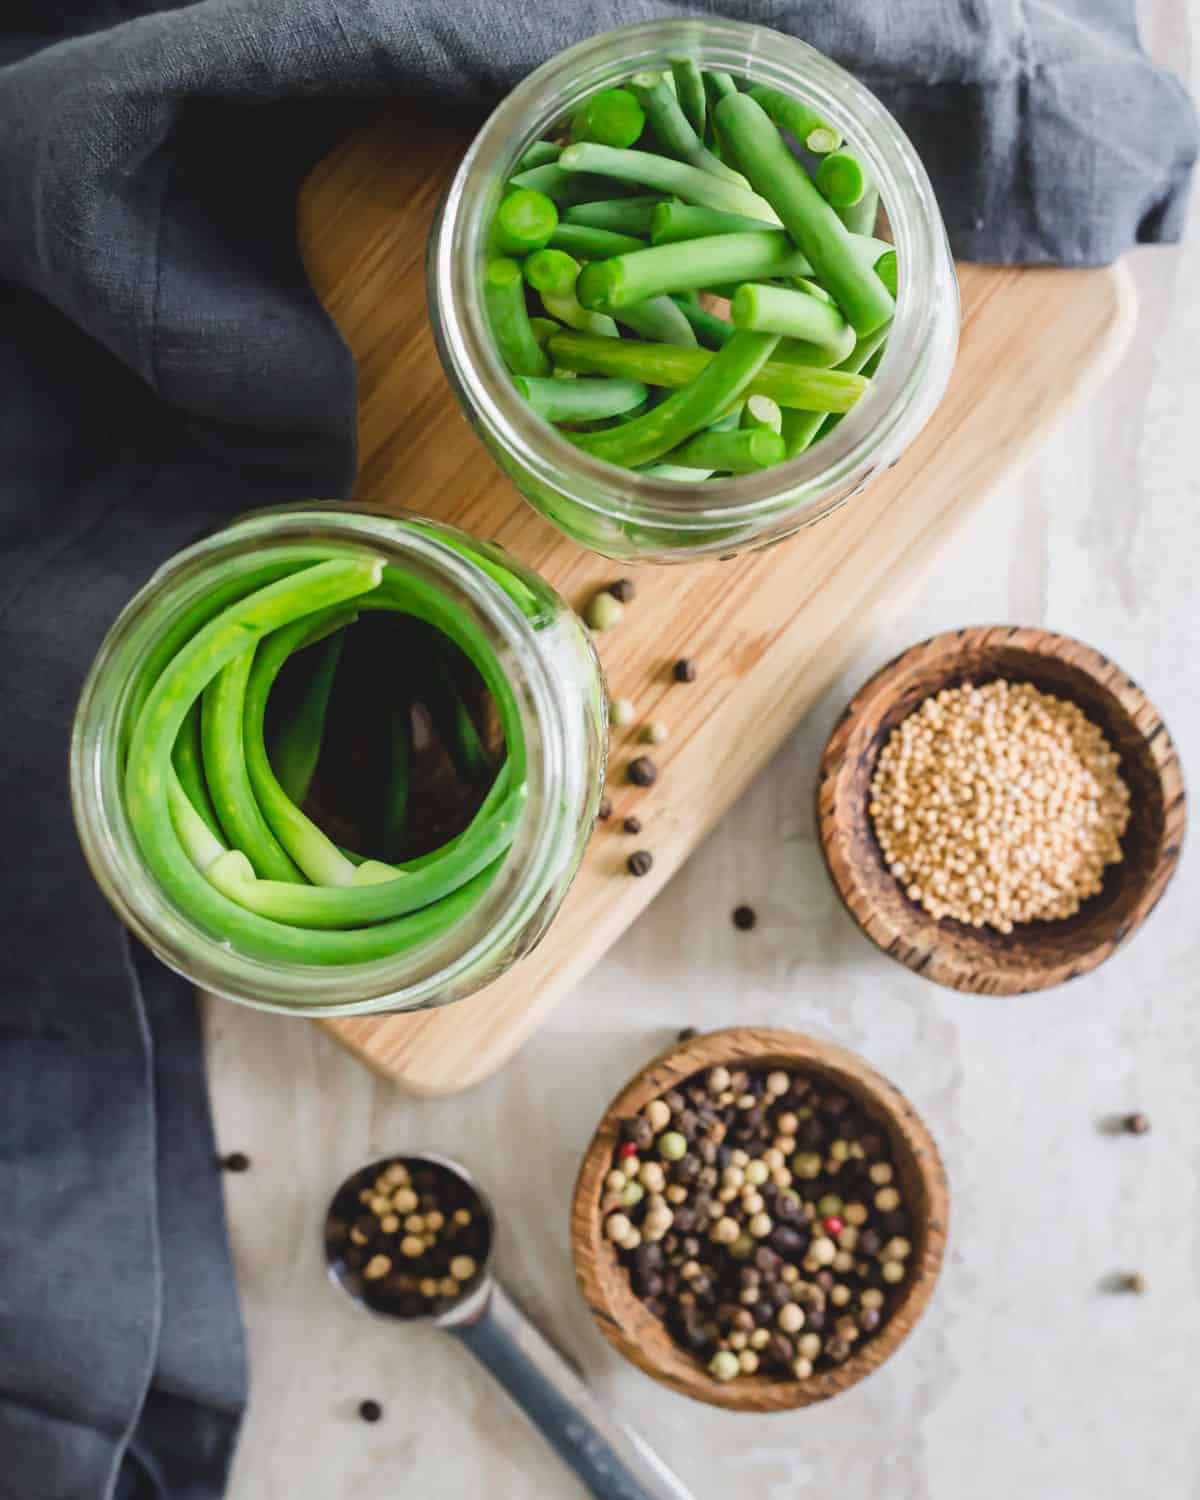
You’ll simply need two large glass jars that have been sterilized (here’s an explanation on how to do that).
I like to use 32 ounce wide mouth mason jars with the metal screw on lids for these.
We’re simply using the jars to do a refrigeration pickling method (also sometimes called “cold pack canning”) not a water bath canning method.
COLD PACK CANNING FOR PICKLED GARLIC SCAPES
This method of “canning” simply means pouring a hot brine on top of the item you’re pickling, letting it cool to room temperature, securing the lid and then refrigerating until use.
I use the same method when making quick pickled cranberries in the winter season.
This method will last up to 6 months in the refrigerator.
It doesn’t keep as long as a traditional water bath canning (which is shelf stable up to a year) and does require refrigeration but I find that timeline to be plenty nor am I bothered by the necessary refrigeration.
The simplicity of the cold pack canning more than makes up for the shorter lifespan!
INGREDIENTS TO PICKLE GARLIC SCAPES
Once you have your jars selected, you’ll need the following to make pickled garlic scapes:
- 1 large bunch of garlic scapes (about 1/2 a pound)
- 2 cups apple cider vinegar
- 2 cups water
- 2 tablespoons Kosher salt
- 1 tablespoon raw (turbinado) sugar
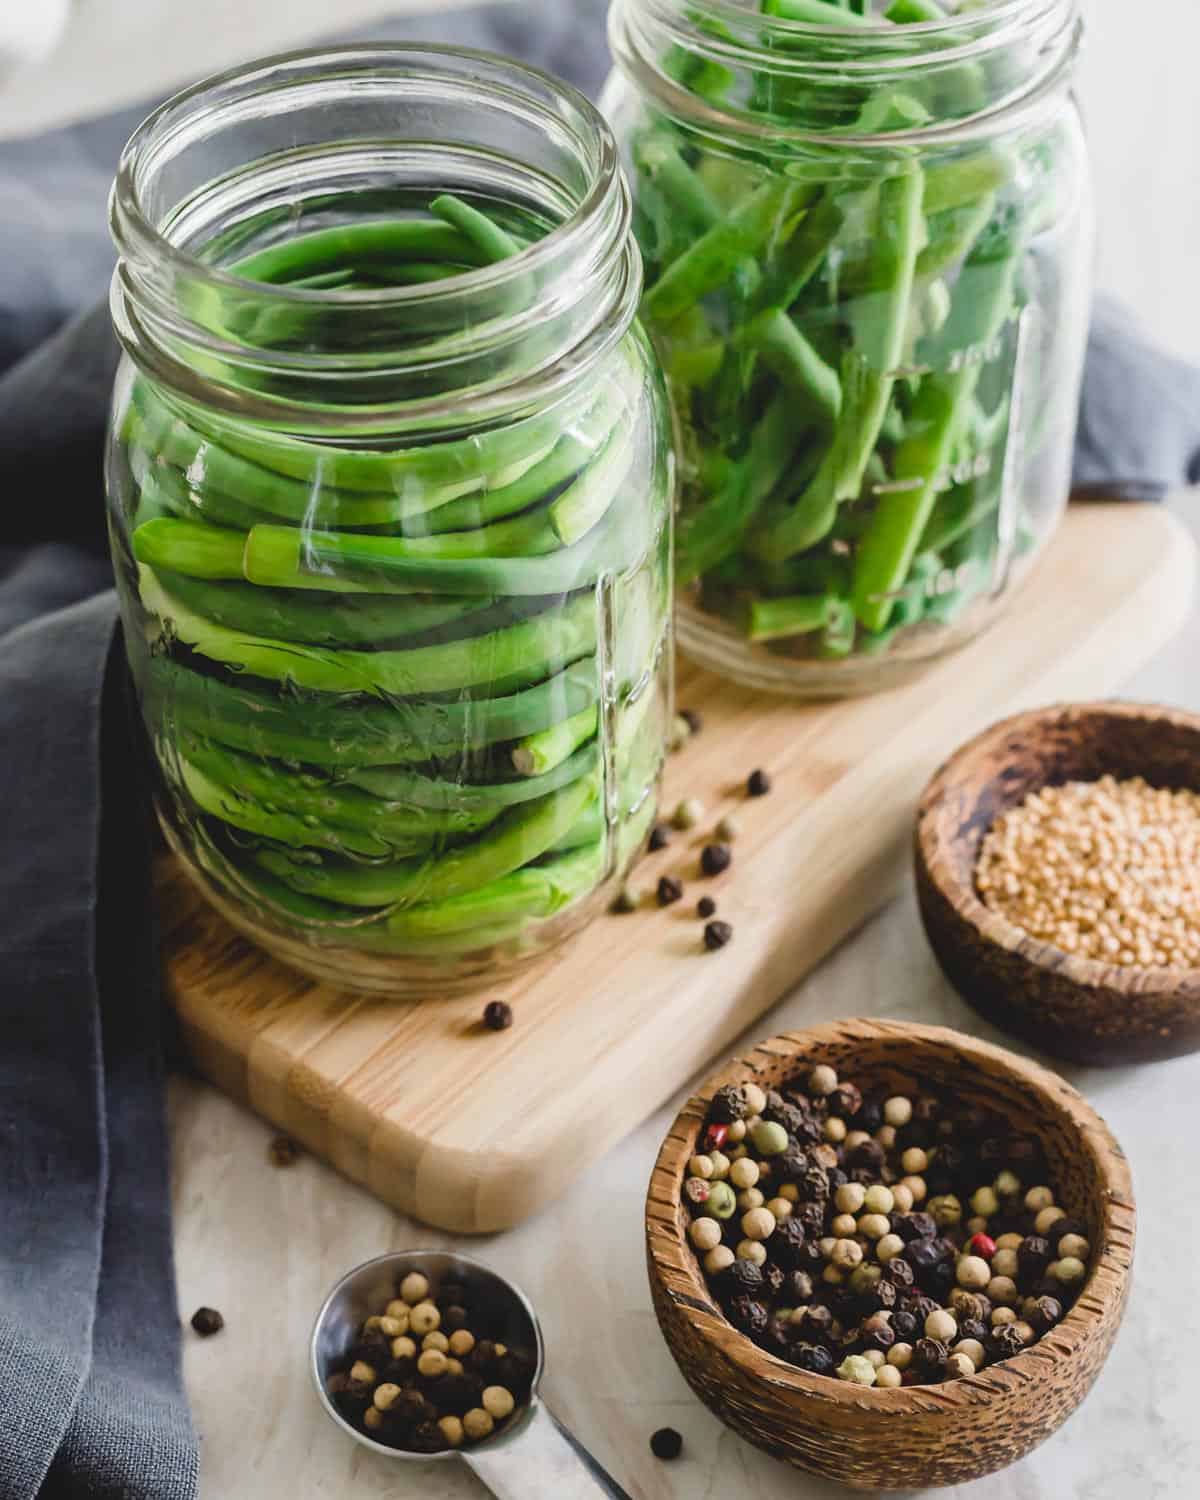
- 1/2 teaspoon peppercorns
- 1/2 teaspoon mustard seeds
These measurements are for two 32 ounce mason jars.
Feel free to scale up (or down) the recipe for however many jars you need based on the amount of garlic scapes you have.
HOW TO MAKE PICKLED GARLIC SCAPES
STEP 1: STERILIZE JARS
It’s important to start with clean, sterilized jars for this process.
STEP 2: TRIM THE GARLIC SCAPES
Trim off any dry, dead ends then cut the garlic scapes into sizes that fit the jars you’re using.
You can leave them curled and make them wrap around the jar or, cut into smaller straight pieces to fit the height of the jars.
Place the scapes into the jars and add the peppercorns and mustard seeds.
STEP 3: MAKE THE PICKLING BRINE
Combine the apple cider vinegar, water, salt and sugar in a medium sauce pot. Bring to a boil and stir the mixture until the salt and sugar are dissolved.
Pour the hot liquid into the jars covering the garlic scapes completely but leaving about 1/4″ headspace in the jars.
STEP 4: COOL THEN REFRIGERATE
Loosely affix the lids to the jars and leave out at room temperature to cool.
Once cooled, tighten the lids and refrigerate for at least 2 weeks before consuming.
For more intense pickled flavor, leave unopened in the refrigerator for 3-4 weeks before enjoying.
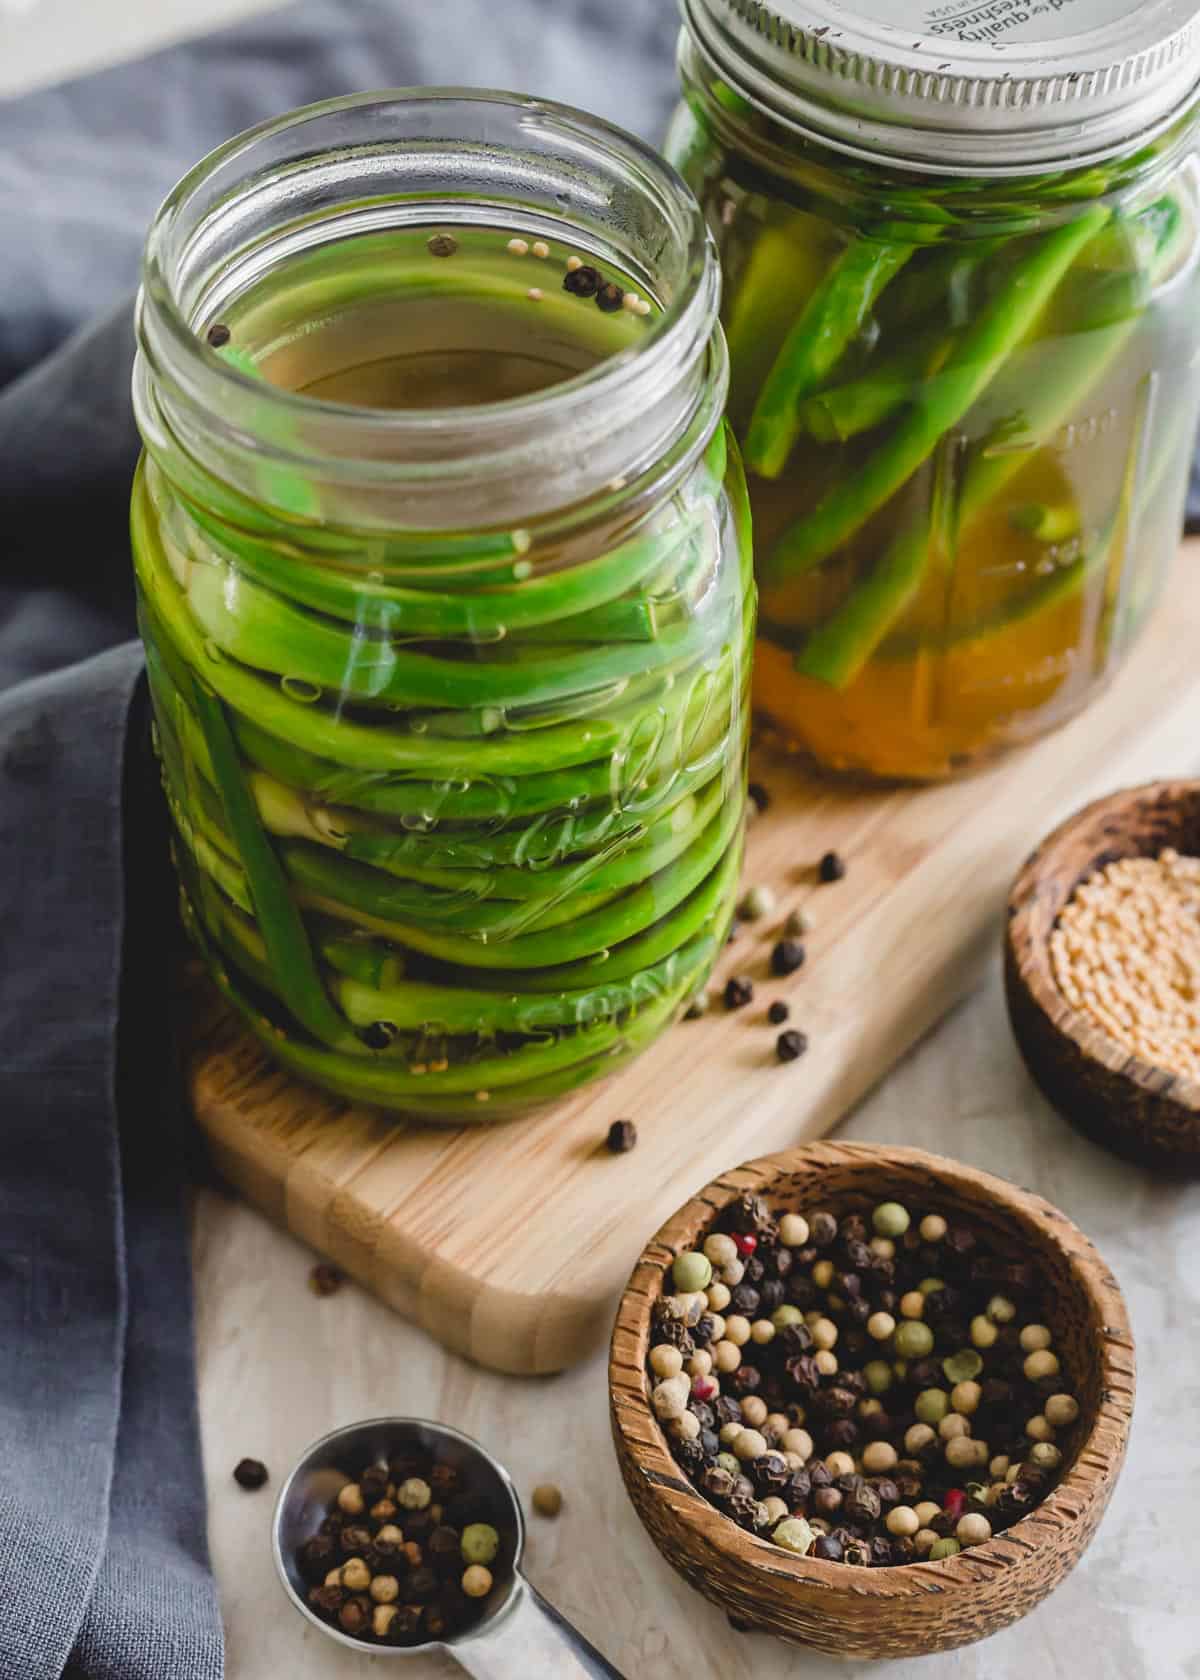
Once you’ve got the pickling process down, feel free to play with the flavors you add to the jars.
Just like you can vary the ingredients when making homemade refrigerator pickles with things like dried chili peppers to dill, etc. you can do the same with pickled garlic scapes.
The peppercorns and mustard seeds used here are for a simple basic recipe.
Things like red pepper flakes, celery seed, bay leaves, fresh turmeric, cloves, coriander seeds, etc. are all fair game!
MORE PICKLED RECIPES TO TRY:
Creamy cucumber salad with pickled onions
Balsamic pickled shiitake crostini
Pickled fennel citrus salad
Chilled mango melon soup with pickled cucumber
Pickled Garlic Scapes
Ingredients
- 1 large bunch garlic scapes, about 1/2 pound, trimmed
- 2 cups apple cider vinegar
- 2 cups water
- 2 tablespoons Kosher salt
- 1 tablespoon raw sugar
- 1/2 teaspoon peppercorns
- 1/2 teaspoon mustard seeds
Instructions
- Trim the garlic scapes by cutting off any dried ends then chop into lengths to fit into the mason jars you’re using.
- Arrange scapes in the jars leaving about 1/4" headspace at the top and add peppercorns and mustard seeds.
- Combine apple cider vinegar, water, salt and sugar in a medium sauce pot. Bring to a boil and stir until salt and sugar dissolve.
- Pour the brine into the jars making sure the garlic scapes are completely covered with the liquid. Loosely fit the lids onto the jars and leave out on the counter until room temperature.
- Once cooled, tighten lids and place in the refrigerator to pickle for at least 2 weeks before using.
Notes
Nutrition
Nutrition information is automatically calculated, so should only be used as an approximation.
Gina Matsoukas is an AP syndicated writer. She is the founder, photographer and recipe developer of Running to the Kitchen — a food website focused on providing healthy, wholesome recipes using fresh and seasonal ingredients. Her work has been featured in numerous media outlets both digital and print, including MSN, Huffington post, Buzzfeed, Women’s Health and Food Network.



Way to much blah blah before you get to recipes for me, makes your site nearly unreadable, especially on mobile.
I’m interested in cooking, not reading someone’s thesis, so a TLDR link to the good stuff right at the top would be an easy way to skip past the warmup and get right to what we clicked for.
When I press the button the call the elevator, I’m not looking for a lecture on the history of buttons or elevators, know what I’m sayin?
There’s a “jump to recipe” button at the top of every single recipe post on this site for this exact reason. I suggest you use it if you’ve got that much of an issue scrolling down past the “blah blah” as you call it. Also, maybe consider some social etiquette next time you consider commenting on a piece of FREE information.
This was my first year ever successfully growing garlic and I was excited to do something with the scapes. I decided to pickle them and can’t wait to try them in 2 weeks! I did equal parts sugar and salt and also added dill because dill pickles are life. after it was cooled, I sampled the brine and it was PHENOMENAL after the essence of the scapes seeped into it. Even after the scapes are gone, I think I can use the leftover brine for chicken or something so it doesn’t go to waste. Thank you so much for posting!!
We have just started pickling some of our produce, and this recipe was easy to follow and produced a tasty result (we just sampled after letting them sit as recommended.). Might try blanching next time as they were a little bit hard, but will definitely be using this again next year as we always are looking for ideas for our scapes. Thank you!
Can you use pickling salt instead of kosher salt? Whats the conversion?
That’s what I used at the same ratio and had no problems. the brine still tasted yummy!