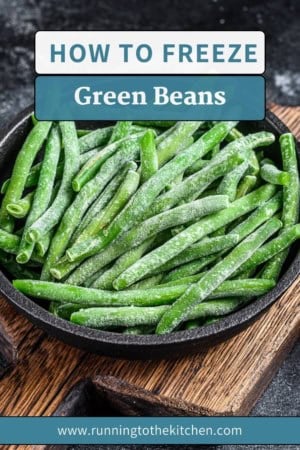
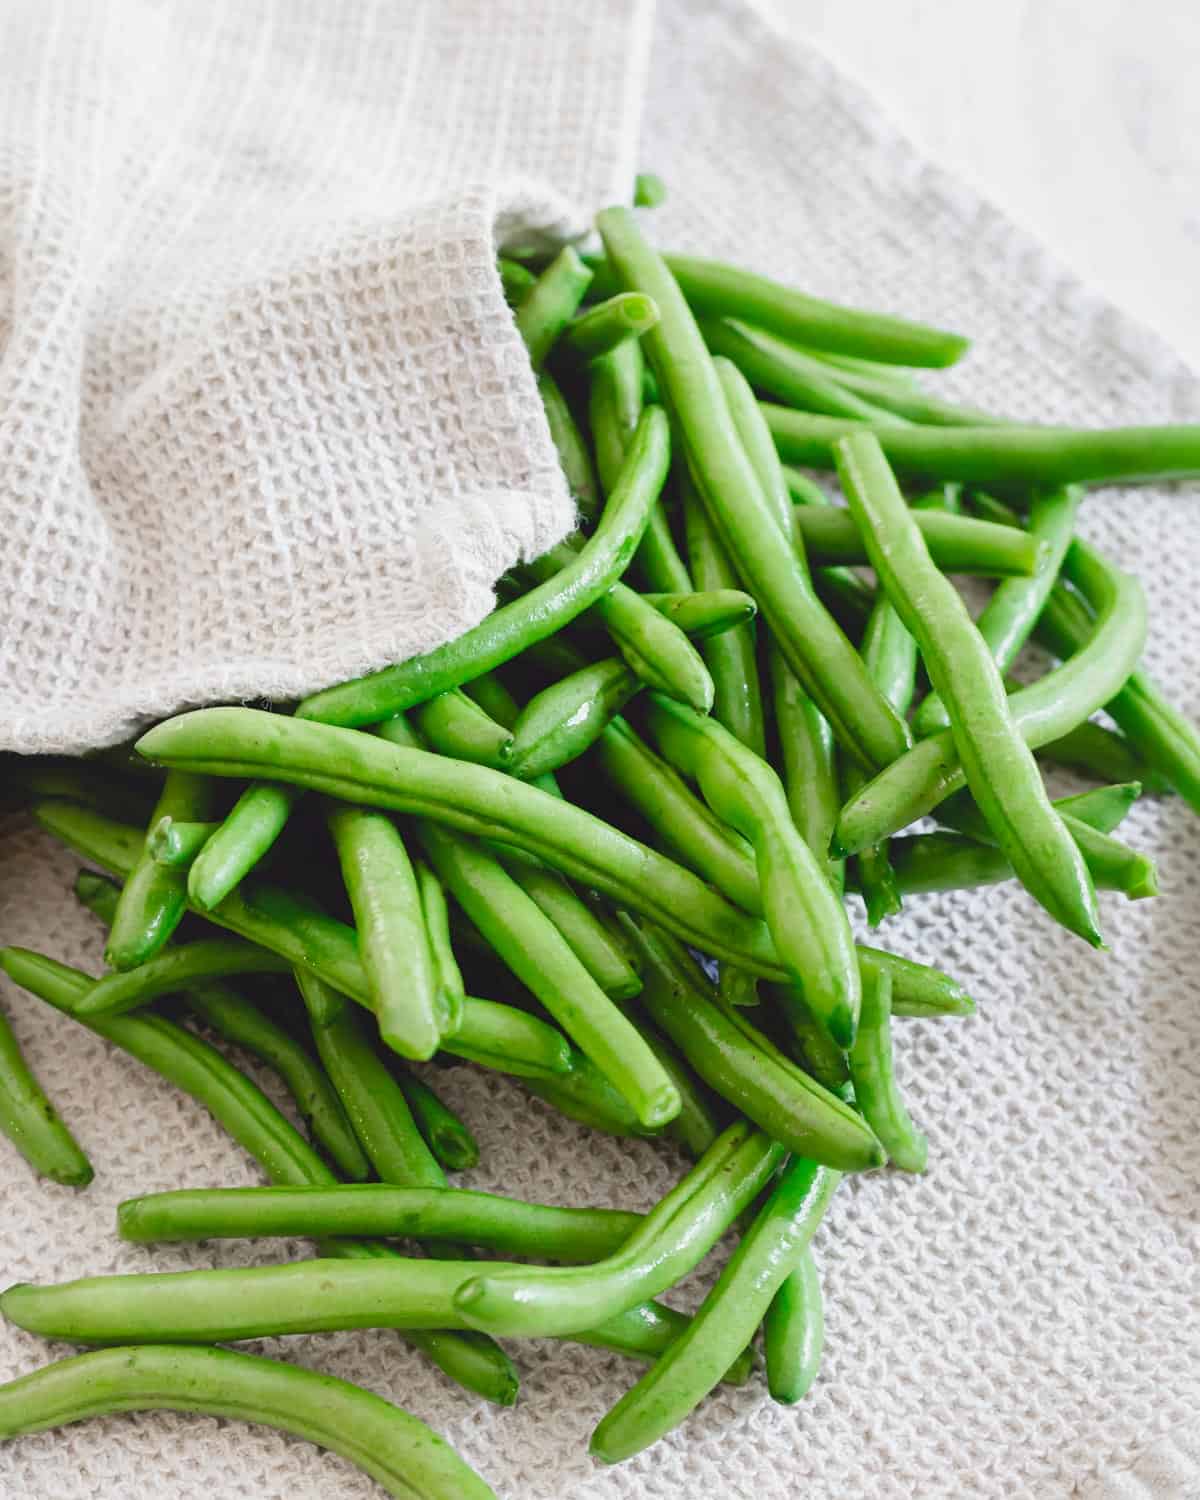
Freezing green beans is an excellent way to preserve their fresh, vibrant flavor and texture long after peak growing season. You may have a surplus from your garden or found a great deal at the store; either way, freezing green beans can help you enjoy them throughout the year. In this guide, you will learn to properly freeze green beans, ensuring they retain color and flavor.
Freezing green beans: The basics
Like many summer vegetables such as corn, zucchini, bell peppers and summer squash, there are several methods for freezing green beans, each tailored to help maintain their quality and extend their shelf life.
If you have a summer garden in short growing season area (like me), you probably find yourself overwhelmed with produce all at once. That’s why I love being able to freeze certain types of produce so that in the dead of winter when there’s nothing fresh, you can still enjoy the fresh taste of home-grown vegetables.
Follow these methods to keep your green beans tasting fresh for months to come and enjoy summer-tasting veggies all year round.
Method 1: Freezing green beans whole
This is the simplest way to freeze green beans if you want minimal prep work.
Step 1: Wash the green beans thoroughly under cool, running water.
Step 2: Trim off the stems of the beans. You can then leave them whole or cut them into smaller pieces, depending on your preference. Smaller pieces are good for stir fries like honey orange sesame chicken where as the whole beans are good for grilling or roasting on a sheet pan with chicken.
Step 3: Lay the green beans out on a clean towel to dry completely, or pat dry thoroughly with paper towels.
Step 4: Once dry, pack the green beans into freezer-safe bags or containers. Remove as much air as possible before sealing to prevent freezer burn, then place in the freezer.
Method 2: Blanching green beans before freezing
Blanching green beans before freezing is a popular method to help preserve their bright color and flavor. This will also maintain the green bean’s texture better than fully cooked ones.
Step 1: Prepare an ice bath by filling a large bowl with ice and cold water.
Step 2: Rinse and trim the green beans.
Step 3: Bring a large pot of water to a rolling boil.
Step 4: Add the green beans to the boiling water and blanch them for two to three minutes, depending on their size.
Step 5: Immediately transfer the blanched beans to the ice bath to stop the cooking process. Leave them in the ice water for as long as they were in the boiling water.
Step 6: Dry the green beans thoroughly before placing them in freezer-safe or reusable silicone bags. Remove as much air as possible before sealing.

Method 3: Freezing cooked green beans
If you prefer having fully cooked green beans ready to use, you can freeze them after cooking. This method is best for dishes where the texture does not need to be crisp such as a soup, stew or chili.
Step 1: Cook the green beans by steaming or boiling them until they are tender but still slightly crisp, about three to five minutes.
Step 2: Allow the cooked green beans to cool completely. Pat dry.
Step 3: Place the cooled beans in freezer-safe bags or containers. Make sure to remove excess air from bags before sealing them tightly.
Equipment for freezing green beans
Besides a sharp knife for slicing the stems off (you can also just snap the ends with your fingers) or cutting the beans into smaller pieces, you just need some great quality freezer bags and a pot (a blanching pot makes this easy) if you’re choosing to blanch or cook the beans first.
Other equipment every kitchen likely has on hand is a strainer and a large bowl for an ice bath.
Why freezing is better than canning
Freezing green beans has a leg up on canning when it comes to preserving both their quality and your time. Canning green beans requires a pressure canner because regular canners can’t hit the high temperatures needed to kill bacteria like botulism. That means setting aside hours for a process that can feel tedious—and that’s before you factor in the equipment cleanup. Plus, the high heat from pressure canning can zap some of the beans’ nutrients, leaving them less nutritious than when you started.
On the other hand, freezing is quick, straightforward, and keeps those vibrant beans packed with almost all their original nutrients. Frozen veggies like green beans are often just as good for you as fresh ones, making freezing a better choice for preserving their health benefits. Once you see how fast and easy it is to freeze green beans, it’s hard to justify the extra time and effort that comes with canning.
How long can you store frozen green beans?
I like to use frozen green beans within 3-4 months of freezing no matter which method I use. This keeps them from acquiring freezer burn and results in the freshest tasting recipes.
Using frozen green beans
The way you reheat and use your frozen green beans will depend on how they are prepared. Use the instructions below depending on the method chosen.
Whole green beans
Frozen green beans can be used straight from the freezer without thawing. Add them directly to stir-fries or pastas. They can also be thawed in the refrigerator overnight if you prefer, but tend to be softer in texture. Whole green beans work well in dishes where you want to maintain their consistency, such as simply prepared side dishes like green bean fries.
For example, saute the frozen green beans in olive oil with garlic, salt and pepper. Fresh herbs like thyme or parsley can add even more flavor. You can follow this simple wax bean recipe that features garlic and basil and just use green beans instead.
Blanched green beans
Blanched green beans can be thawed in the refrigerator overnight or in the microwave on the defrost setting. They are great for recipes where the beans will be cooked further, such as stews, soups or casseroles.
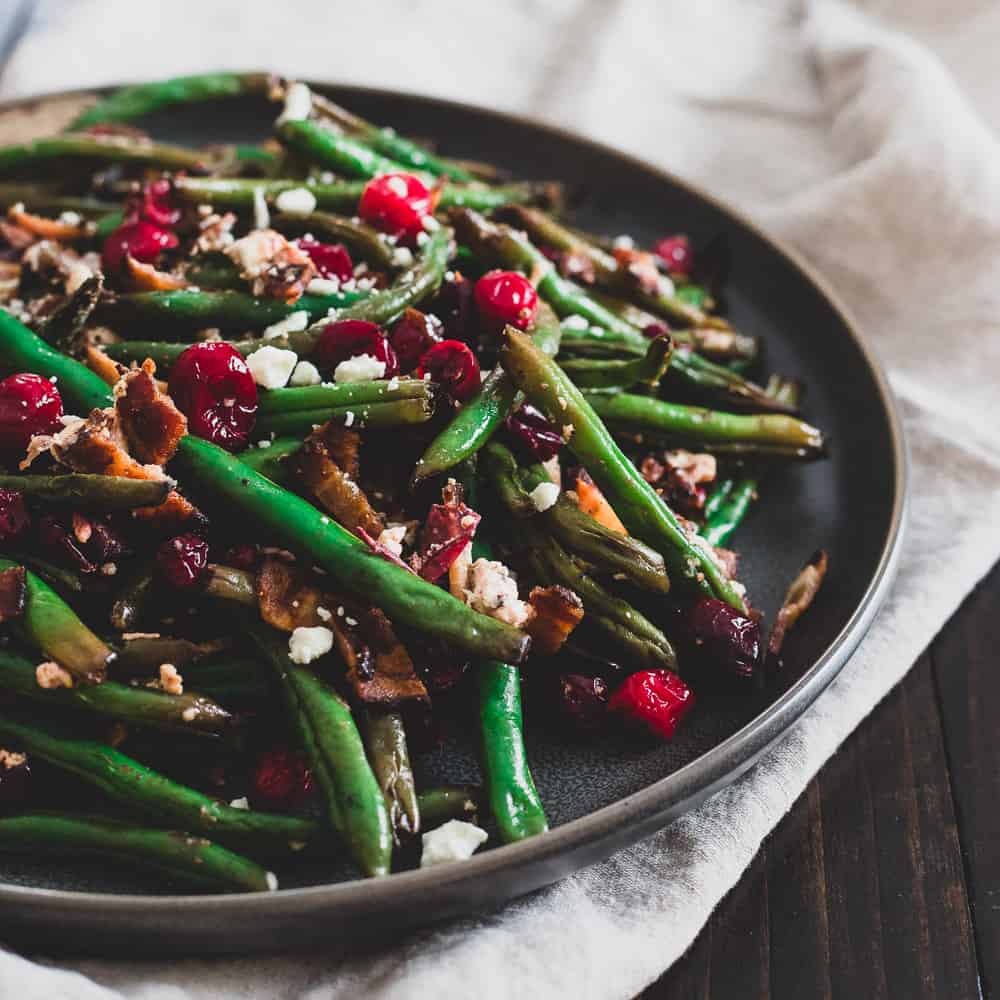
However, blanched green beans retain a firmer texture compared to fully cooked ones, so they do not necessarily need to be cooked further. This texture makes them ideal for side dishes or salads. Our popular Thanksgiving side dish of green beans with cranberries, bacon and goat cheese is perfectly suited for using frozen blanched beans.
“I always have a bag of pre-cut frozen green beans in my freezer. They’re perfect for tossing into cozy soups and stews, adding a nice texture without the prep work of fresh green beans. I especially love using them in hearty vegetable soups and quick stir-fries. My favorite type is blanched frozen green beans since they retain a bit of crunch and vibrant color after cooking.”
— Jacqui Wilson, Eat Fresh Glow
Cooked green beans
Fully cooked green beans can be thawed in the refrigerator or defrosted quickly in a bowl of cold water. They’re perfect for adding to recipes where you need pre-cooked vegetables, such as in casseroles, soups or baked dishes. To keep these these dishes fresh, add herbs and spices. Dill is an excellent flavor to pair with green beans.
“Frozen French-cut green beans are my secret weapon for Asian-inspired dishes. They stir-fry beautifully with tofu and a splash of soy sauce for an easy meal.”
— Mandy Applegate, Hungry Cooks Kitchen
Freezing fresh green beans
Freezing green beans is a smart and simple way to ensure you have access to this delicious vegetable throughout the year. Whether you decide to freeze them whole, blanched or fully cooked, each method has its own advantages depending on how you plan to use them. By following these easy steps, you can enjoy green beans in a variety of dishes, even when they’re out of season.

Gen La Rocca
Gen is a professional chef, writer and editor living in Southern California. She is the owner and recipe creator behind Two Cloves Kitchen, a food site featuring contemporary, California-inspired recipes. She has edited over 20 novels, short stories and essays for publication.