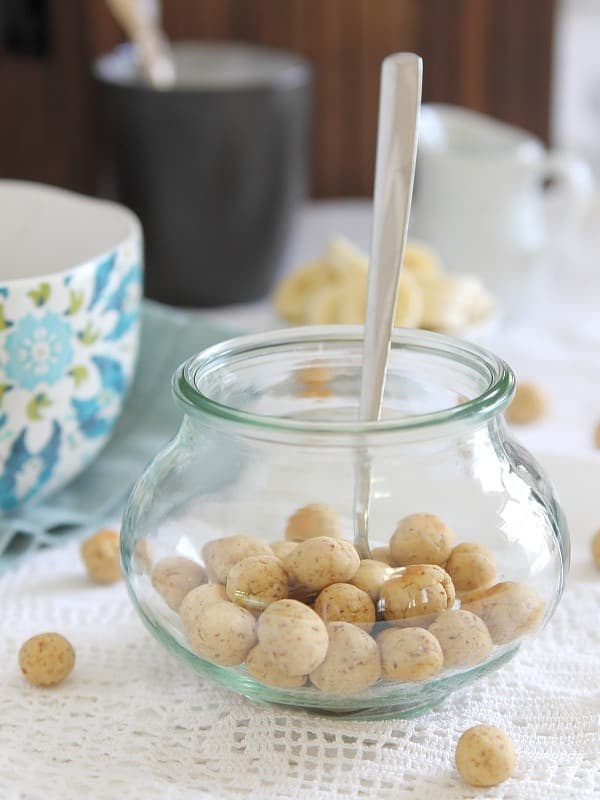
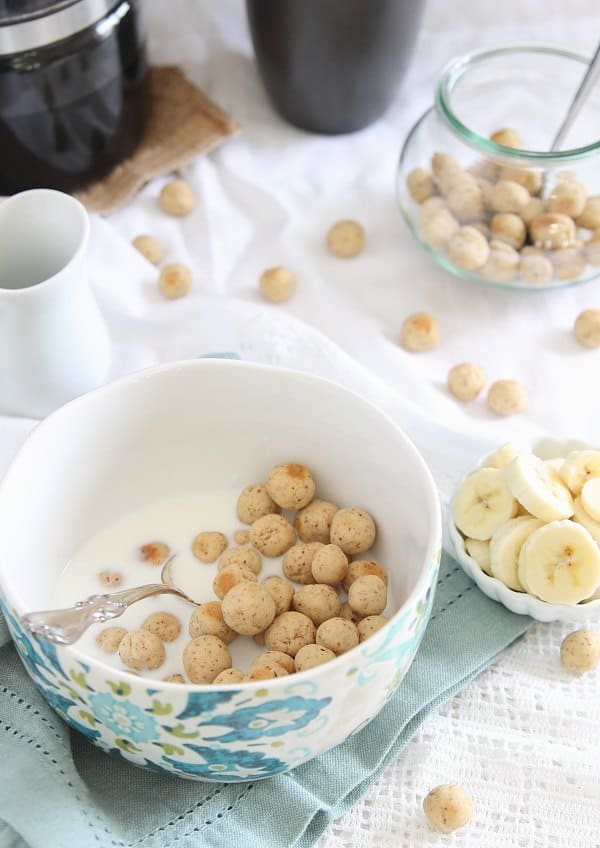
These homemade cereal puffs are a fun change up to your breakfast routine. Ditch the store bought sugar laden cereal boxes for a healthier option you can make at home!
Growing up, we were a “normal” healthy house. Meaning, there was the occasional Yodel (aka Hohos for you non North-easterners) or Twinkie on the counter but school lunches were always made with whole wheat bread and fruit roll-ups were about as good as the snacks got. Dinner was always homemade, no chicken nuggets from the freezer and vegetables with every meal.
So while friends got to eat their sugar laden cereals and Pop-Tarts every morning, it was an all out fight with my mom in the grocery store to just get anything besides the disgusting (at the time) Kashi box that took permanent residence in our pantry.
I must’ve been about 5 but I can remember the scene like it was yesterday. We were in the cereal aisle and I was begging, pleading with her to let me get a box of Golden Grahams. I have no idea why that was the one I wanted (Cinnamon Toast Crunch was usually mine and my brother’s sugar bomb of choice), but I was adamant. I don’t know what happened, either the stars aligned or she was just tired of fighting with me, but I won.
I happily grabbed that box off the shelf, we paid, loaded everything up into our baby blue mid-80s Chevy Cavalier wagon and by some act of God, I was allowed to eat some in the car (my dad was a stickler about no eating in the car)
10 minutes later, Golden Graham engorged, I puked in the car.
No idea if it was the driving, the cereal, a stomach bug or what, but I never argued for fun cereals again after that and besides the occasional Lucky Charm indulgence (those marshmallows are hard to resist), I honestly have no desire to eat them. The Golden Graham experience did me in.
I saw these homemade mocha puffs last week and thought “why the heck have I never made homemade cereal?”
1. How fun does that sound?
2. I control the ingredients
3. Therefore I can eat an entire bowl and not feel bad that I just quadrupled the suggested serving amount (who the heck eats 1/2 a cup of cereal anyway?)
So I made homemade cereal puffs and besides the part where it takes like 30 minutes to roll dough into grape sized balls, they rocked.
Homemade Cereal Vs. Boxed Cereal
If we’re being honest, store-bought cereal is easy, but it’s packed with ingredients you can’t even pronounce and leaves you wondering why half a cup is considered a “serving.” When you make your own cereal, you’re in control. You get to choose every single ingredient, like almond flour and maple syrup, which not only taste amazing but are way better for you. There are no hidden sugars or mystery preservatives here.
Sure, buying a box at the store seems cheaper, but have you seen the cost of the “healthy” cereals? Some are seriously approaching the $10 mark and that’s for like 8 ounces of cereal, not a huge Costco-sized box. Making your own is not only more affordable but also more satisfying—because you made it. Plus, you can add anything you love, from chia seeds to dried fruit, and skip the stuff you don’t.
The flavor may be my favorite part though. Without artificial ingredients, this vanilla almond homemade cereal is delectable. They’re crispy, naturally sweet, and nothing like the overly sugary crunch from a box. Once you taste homemade, you’ll wonder why you ever settled for less.
Ingredients for This Homemade Cereal Recipe
This recipe uses simple, wholesome ingredients for a healthier breakfast option.
- Almond Flour: Adds a nutty flavor and keeps the recipe gluten-free.
- Gluten-Free Baking Flour: Helps create the right texture for the dough so they don’t crumble.
- Rice Flour: Perfects the texture while keeping the cereal gluten-free.
- Vanilla Extract: Brings a sweet, aromatic vanilla flavor.
- Almond Extract: Gives the cereal a rich almond taste.
- Maple Syrup: Adds natural sweetness and binds the dough.
- Plain Yogurt: Provides moisture for the dough.
- Coconut Oil: Adds richness and helps bind the ingredients together.
How To Make These Homemade Cereal Puffs
The full recipe ingredients and directions can be found below in the recipe card but here’s a quick rundown of the process.
Prepare the Dough
Place all the ingredients into a food processor and pulse until the mixture comes together to form a dough.
Roll the Dough
Remove the blade from the food processor bowl and use your hands to roll small portions of the dough into grape-sized (or smaller) balls. This step takes time but creates the signature cereal puff shape.
Bake in a Preheated Oven
Line a baking sheet with parchment paper and place the rolled cereal balls on top, spacing them out evenly. Bake in a preheated oven at 350°F for 10-12 minutes, shaking the pan gently halfway through for even baking.
Cool and Store
Remove the cereal puffs from the oven, let them cool completely, and transfer to an airtight container. Use a metal spatula to release any stuck puffs from the baking sheet gently.
My Pro Tips
Recipe Tips
- Roll the dough as evenly as possible so the puffs bake evenly.
- Cool the puffs completely before storing them to avoid condensation.
- Store leftovers in an airtight container to keep them fresh longer.
- You can freeze extra dough and thaw it for a quick batch later.
How To Serve
There’s nothing better than a big bowl of cereal with milk and that’s my favorite way to enjoy this homemade cereal recipe. Of course, you can add a variety of add-ins to the bowl to make it more hearty and balanced. Some of my favorites include:
- Chia seeds, hemp seeds and/or flax seeds for some healthy fats and fiber.
- Fresh fruit is a great complement to the cereal puffs, particularly berries.
- Dried fruit also works well. Options like raisins, cranberries, cherries and apricots are my go-tos.
- Chopped nuts such as walnuts, pecans or almonds add some extra crunch and staying power from the fats.
Homemade cereal is also great as a topping for yogurt bowls or smoothies. A drizzle of nut butter and maple syrup makes it a great snack or dessert.
Try these other homemade cereal recipes
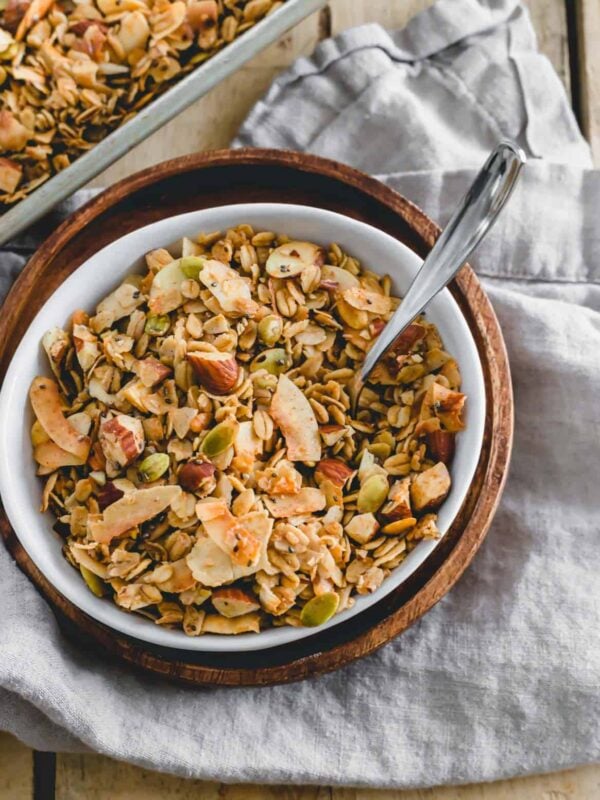
My brother’s favorite cereal was Cinnamon Toast Crunch so of course, I had to make a healthy homemade cinnamon toast crunch cereal as an adult to try and recreate the childhood memories. I also made these cinnamon toast crunch roasted chickpeas and while they may sound weird, they’re incredibly delicious as a sweet snack.
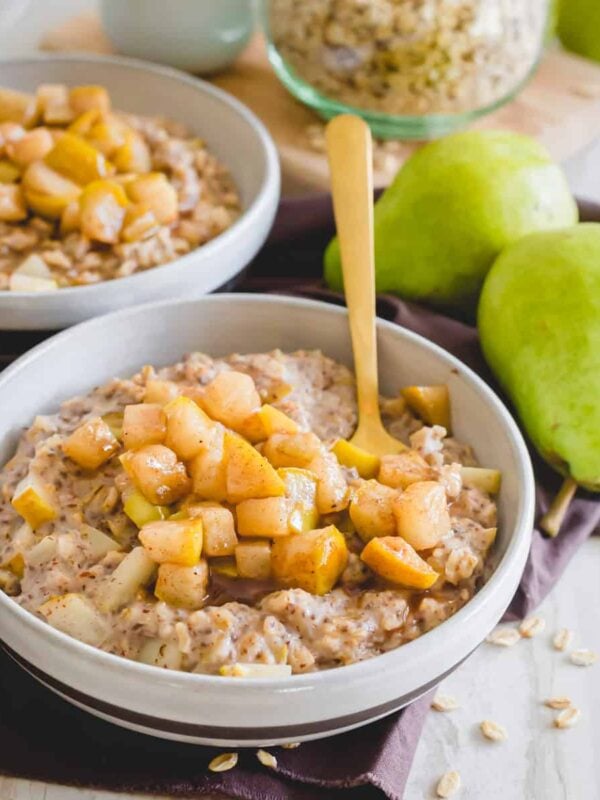
This warm quinoa cereal is another idea for a homemade cereal and the caramelized banana topping it’s served with puts any boxed cereal to shame.
Muesli lives somewhere between cereal and oatmeal so I’ll include it here too. This overnight strawberry lemon muesli breakfast is really delicious. It’s light, refreshing and hearty all at the same time and very simple to put together.
Homemade Cereal
Ingredients
- 1/2 cup almond flour
- 1/2 cup gluten free baking flour, or all-purpose flour
- 1/4 cup rice flour
- 1/4 teaspoon salt
- 11/2 teaspoons vanilla extract
- 1/2 teaspoon almond extract
- 1/4 cup maple syrup
- 1 tablespoon plain yogurt
- 1/2 tablespoon coconut oil
Instructions
- Preheat oven to 350°F.
- Combine all ingredients in a food processor and pulse until it comes together into a dough.
- Remove from the food processor and roll into balls about the size of a small grape.
- Place dough balls on a parchment or silpat lined baking sheet.
- Bake for 10-12 minutes, shaking the pan once half way through so they bake evenly.
- Remove from oven, let cool completely before storing in an airtight container.
Nutrition
Nutrition information is automatically calculated, so should only be used as an approximation.
Gina Matsoukas is an AP syndicated writer. She is the founder, photographer and recipe developer of Running to the Kitchen — a food website focused on providing healthy, wholesome recipes using fresh and seasonal ingredients. Her work has been featured in numerous media outlets both digital and print, including MSN, Huffington post, Buzzfeed, Women’s Health and Food Network.
what are the nutritional facts for this recipe? How much sugar is in it?
I had the same question, and put it into Spark Recipes.
I’m about to give this recipe a try. Wish me luck!
Are these supposed to be crunchy? Mine came out soft, and I baked for 13-14 minutes.
I wouldn’t say super crunchy but not totally soft either.
I love cereal, but have never thought about making my own — besides granola. Now I totally want to try it.
Yum! Do you think these would turn out if you dehydrated them instead of baked them?
Did you ever get an answer on dehydrating these? And does anyone know what the shelf life is?
OMG. I laughed at your story. Your poor mom. Ya just know when she gave it to the cereal ahe was having one of those days. Then you were ill. Good lord. Straight from a comedy scene. I laughed and laughed. Totally understand how you would go off cereal. But look how it led you to this place where you make your own. Who does that? Seriously I now believe you have reached full Goddess status. Tell your folks thanks. -cause we never would have met the woman who makes her own cereal otherwise. I bow.
Hello,
These look amazing!!!! recently decided to try gluten free for my son and this seems like a wonderful option. Was wondering if I could use coconut flour instead of almond because i don’t have any almond on hand????
Thank you,
Best,
Camila
@camila, coconut flour and almond flour are different and aren’t very interchangeable. Coconut flour is fluffier and almond flour is denser. Most almond flour requires more moisture in order to bake up correctly for baked goods.
I saw a recipe for making homemade Gerber baby puffs and they used a playdoh confetti maker. I bet that would work for this too to cut the time down! Wouldn’t be quite as pretty though ;)
I adore cereal… but don’t eat much of it as I’m not a fan of so many of the strange ingredients you find in the store brands. This, though, is simply brilliant!!!
Oh my gosh. This is so inventive! What a great idea. I make granola, but I would never think of making my own cereal!
How long of a shelf-life do they have?
I also have this question.