Freezing soup is a practical way to save time in the kitchen, reduce food waste and ensure you always have a comforting meal on hand. Prepping ahead or saving leftovers is a simple process that can make life easier. Here’s how to freeze soup effectively, covering tips for preparation, storage and thawing.
Preparing The Soup For Freezing
It’s important to prepare your soup properly before freezing. This involves cooling it completely, choosing the right storage method and considering which types of soup freeze best.
Cooling The Soup
Cooling your soup thoroughly is a key step for food safety. It also prevents ice crystals from forming and maintains the soup’s quality in the freezer. After cooking, allow the soup to cool at room temperature for no more than two hours. Transfer the soup to shallow containers or divide it into smaller portions to speed up the process. You can also place the container in an ice bath to lower the temperature quickly.
“I love freezing soup because it’s a budget-friendly way to avoid food waste and ensure I always have a homemade meal ready. I use zip-top freezer bags laid flat for freezing; they’re easy to stack and thaw quickly.”
— Mandy Applegate, My Reliable Recipes
Choosing The Right Soups To Freeze
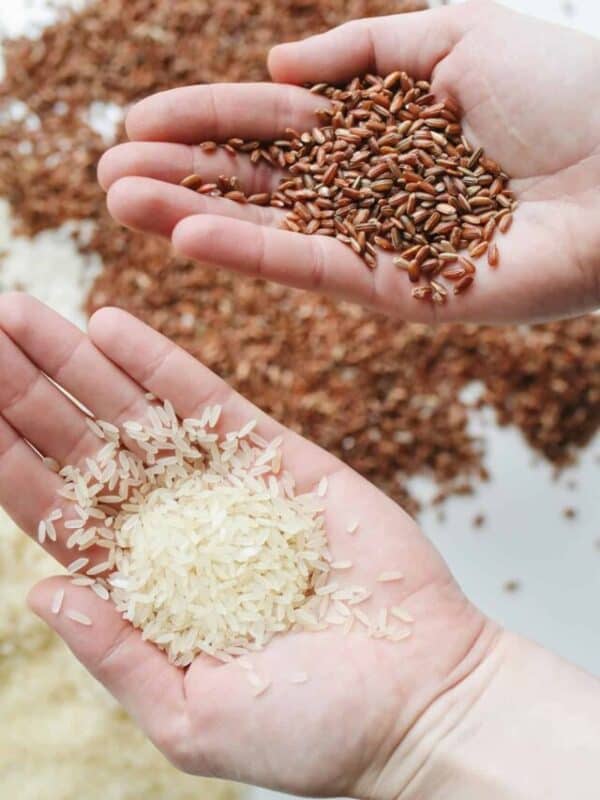
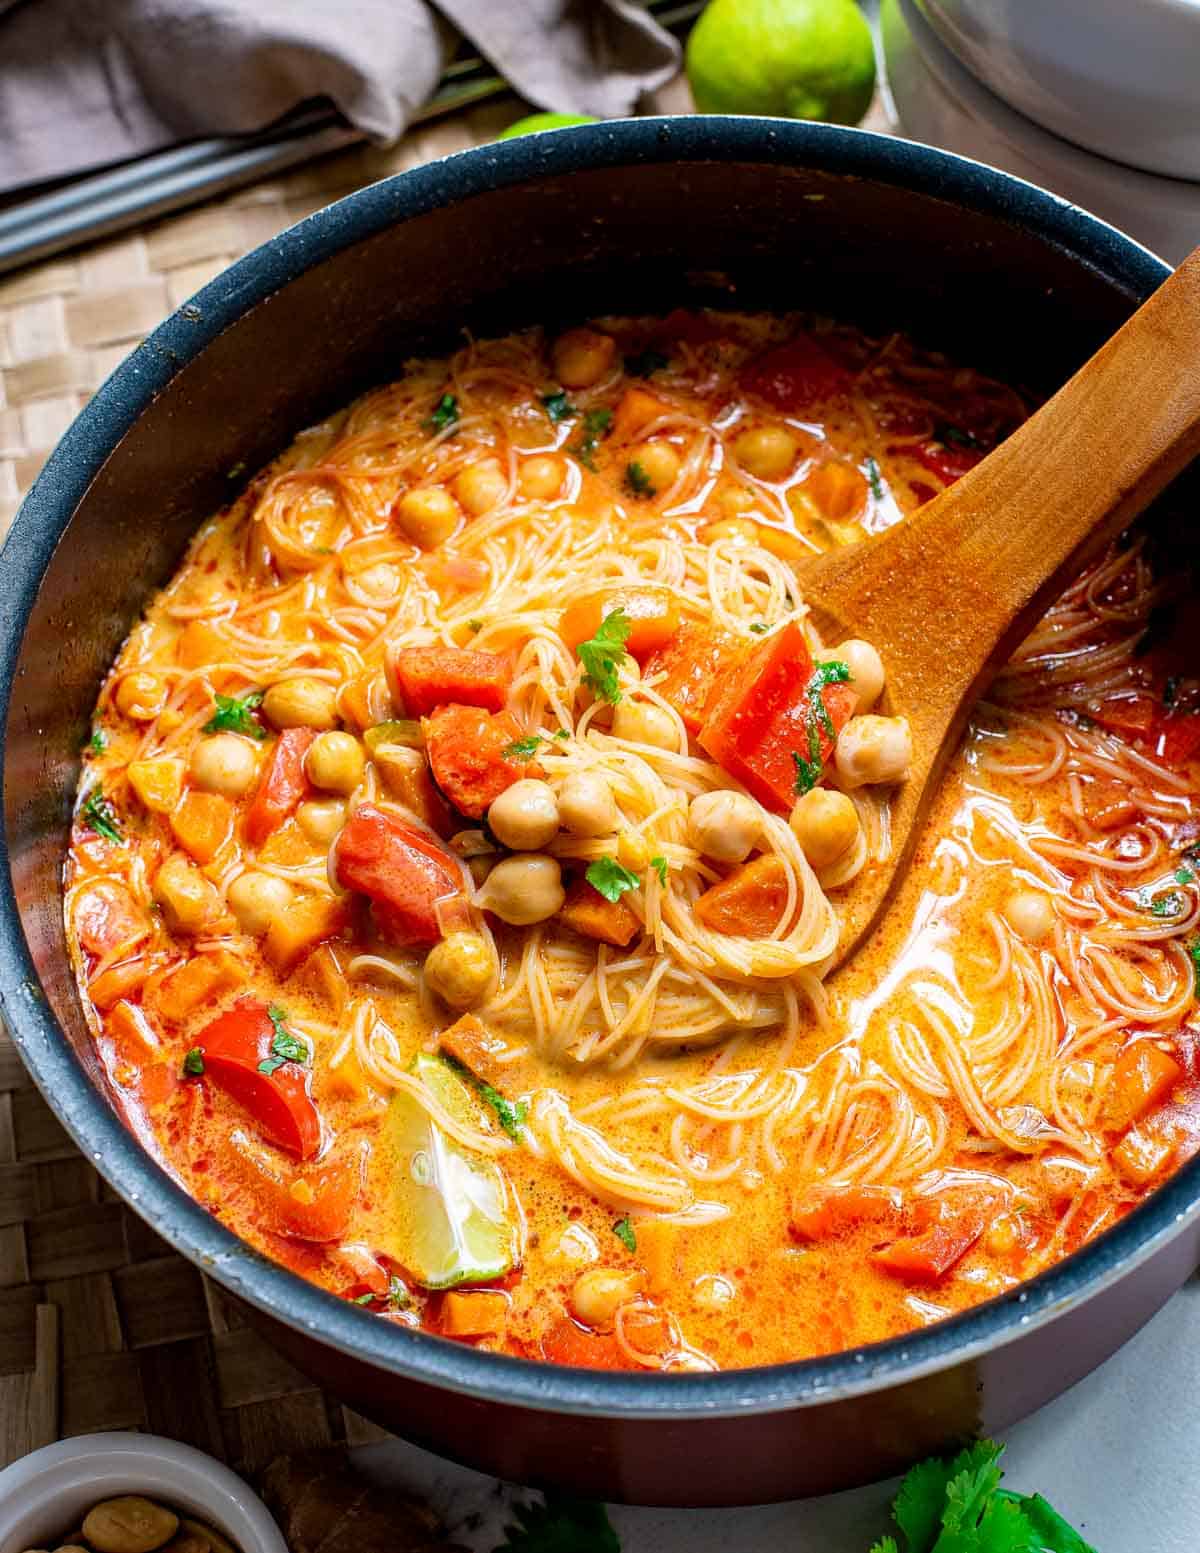
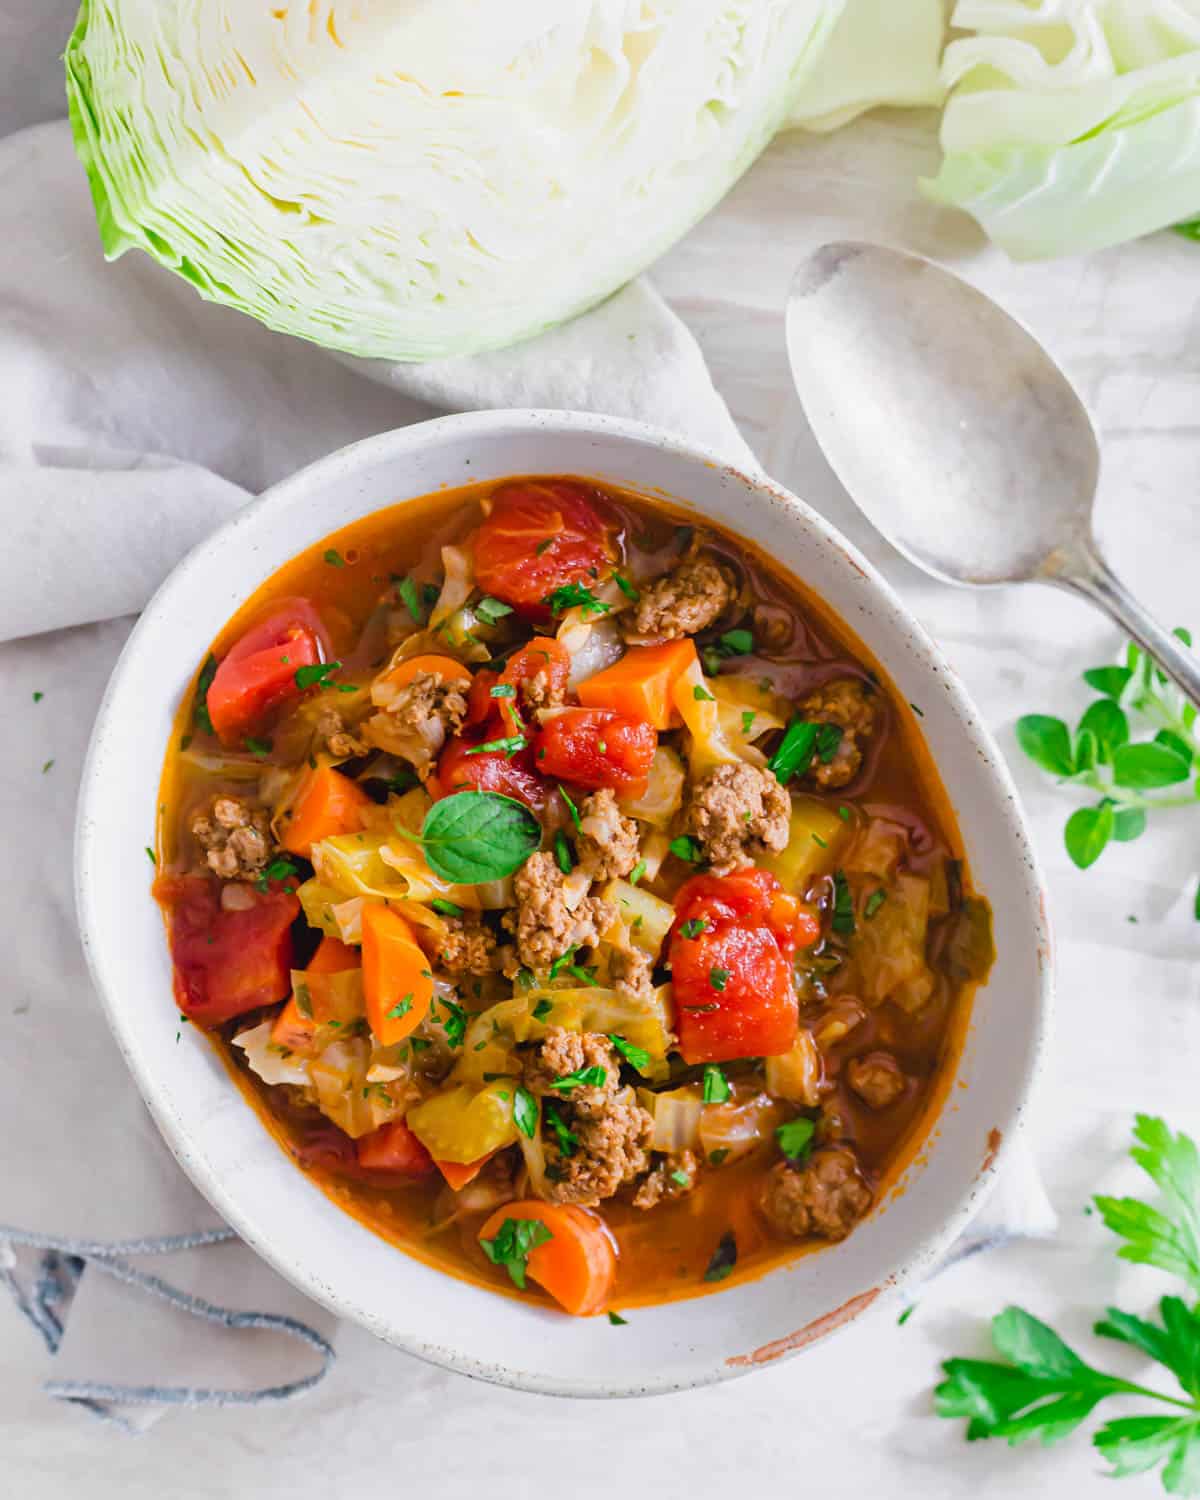
While most soups, like this chicken and cabbage soup, freeze well, some ingredients may not hold up as well in the freezer. Cream-based soups and soups with dairy (like our creamy tomato tortellini soup) are more likely to separate and lose their smooth texture upon thawing. If your soup contains cream or milk, consider adding these ingredients after reheating rather than before freezing. Similarly, soups with pasta or rice, like our Tuscan kale soup, can become mushy, so if possible, cook these components fresh and add them after reheating.

Soups that freeze exceptionally well include broth-based soups, pureed vegetable soups and hearty stews with beans or lentils. Chicken soup is a classic example of a freezer-friendly option that’s perfect for cold and flu season.
Favorite Soups To Freeze


“I always love having my homemade chicken soup in the freezer during the winter months. It’s super helpful when sickness falls over the house to have warm, comforting soup on hand without having to make it!”
— Casey Rooney, Get On My Plate
Packing and Freezing
Properly packing your soup ensures it freezes efficiently and is easy to reheat later. The right method can save space in your freezer and make it faster to prepare meals.
Portioning and Storing
Divide the soup into individual or family-sized portions before freezing. This makes reheating more convenient and prevents waste. Use freezer-safe containers like souper cubes, silicone bags or heavy-duty zip-top bags to store the soup.
If using zip-top bags, remove as much air as possible before sealing to prevent freezer burn. Lay the bags flat in the freezer to save space and speed up thawing later. Once frozen solid, you can stack the bags vertically or horizontally for easy storage.
Labeling and Storing
Label each container or bag with the type of soup and the date it was frozen. Soups generally maintain their quality for three to six months in the freezer. While they may be safe to eat beyond this timeframe, the flavor and texture can begin to deteriorate over time.

Best Containers For Freezing Soup
Choosing the right container for freezing soup can make a big difference in preventing freezer burn, saving space, and making thawing easier. Here’s a breakdown of the best storage options and their pros and cons.
Glass Containers
Examples: Mason jars, glass food storage containers with airtight lids.
Pros:
- Non-toxic and BPA-free
- Doesn’t absorb food odors or stains
- Durable and reusable, making it eco-friendly
- Can go from freezer to microwave (if labeled as freezer-safe)
Cons:
- Risk of breakage if not cooled properly before freezing
- Requires leaving headspace to allow for expansion
- Takes up more space in the freezer compared to bags
Plastic Containers
Examples: BPA-free plastic food storage containers, deli containers.
Pros:
- Lightweight and stackable for easy storage
- Less risk of breaking compared to glass
- Some options are microwave-safe for quick reheating
Cons:
- Can absorb food odors and stain over time
- Not all plastic containers are BPA-free or freezer-safe
- More prone to freezer burn if not sealed properly
Silicone Bags & Containers
Examples: Reusable silicone food storage bags, silicone Souper Cubes.
Pros:
- Flexible and space-saving (can be stacked or laid flat)
- Reusable, making them more eco-friendly than single-use plastic bags
- Doesn’t absorb flavors or odors
Cons:
- Can be more expensive than plastic alternatives
- Some silicone bags are not leak-proof unless properly sealed
- Can be tricky to fill without a stand
Zip-Top Freezer Bags
Examples: Heavy-duty quart or gallon-sized freezer bags
Pros:
- Affordable and widely available
- Saves freezer space (lay flat to freeze, then stack vertically)
- Easy to portion out for individual meals
Cons:
- Not reusable (unless you use silicone alternatives)
- More prone to leaks if not sealed properly
- Can get freezer burn if excess air isn’t removed
Vacuum-Sealing Bags
Examples: FoodSaver vacuum-sealed bags
Pros:
- Provides the best protection against freezer burn
- Saves maximum space in the freezer
- Keeps soup fresh for a longer time compared to other storage options
Cons:
- Requires a vacuum sealer machine
- Single-use bags create more waste
- Not ideal for soups with a lot of liquid unless pre-frozen in a solid form first

Thawing and Reheating Frozen Soup
When you’re ready to serve your soup, you’ll need to thaw and reheat it safely. Proper handling will ensure your soup tastes as good as it did on the day you froze it.
Thawing Methods
The best way to thaw soup is to move it from the freezer to the refrigerator and let it defrost overnight. If you’re short on time, you can reheat the soup directly from frozen. To do this, place it in a pot on the stovetop over low heat and stir frequently to ensure even heating throughout. Bring the soup up to a boil and then down to a simmer for proper food safety.
Reheating Tips
Reheat soup on the stovetop to preserve its flavor and texture. For cream-based soups, stir well to re-incorporate any ingredients that may have separated during freezing. If the soup is too thick after reheating, add a splash of water, broth or milk to achieve the desired consistency.
“As a new mom, freezing soup has been a game-changer for me. I love to make big batches of hearty vegetable minestrone on Sundays, portion it into individual servings and freeze them. It’s such a lifesaver to have a nutritious, homemade lunch ready in minutes on those hectic days when I’m managing a fussy baby.”
— Bella Bucchiotti, xoxoBella
My Pro Tips
Tips For Making Freezing Soup Easier
Here are some additional tips to make freezing soup a seamless process:
- Batch cooking multiple types of soup at once can also provide variety in your freezer stash, giving you options for different cravings or needs.
- Avoid overfilling containers, leaving about an inch of space at the top to allow the soup to expand as it freezes.
- If your soup comes with toppings like croutons, fresh herbs or grated cheese, freeze them separately and add them after reheating.
Freezing soup makes it easy to have a homemade meal on hand anytime. Following the right steps helps keep the flavor, texture and nutrients intact for months. It’s a simple way to stay prepared, whether for busy days, sick days or just making life easier.

Gen La Rocca
Gen is a professional chef, writer and editor living in Southern California. She is the owner and recipe creator behind Two Cloves Kitchen, a food site featuring contemporary, California-inspired recipes. She has edited over 20 novels, short stories and essays for publication.