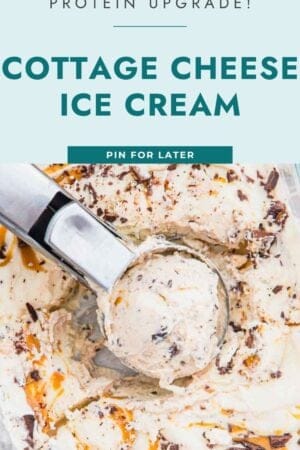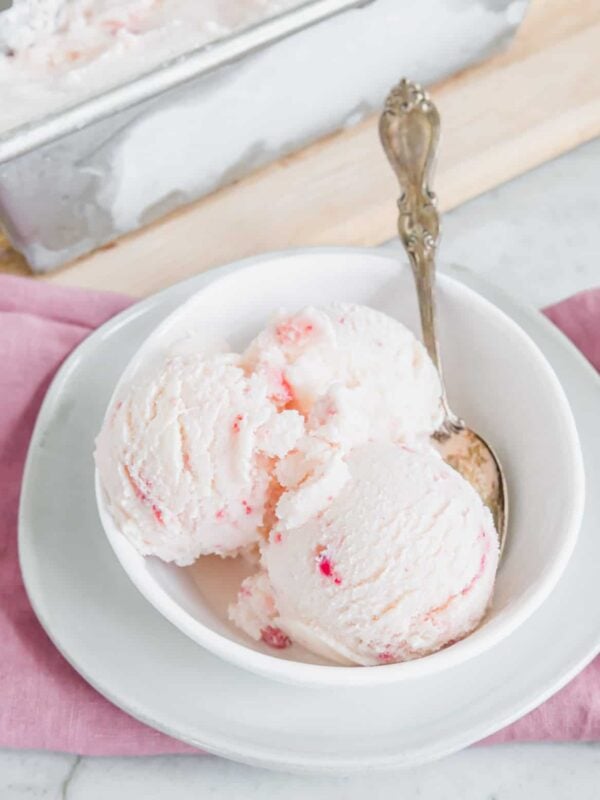


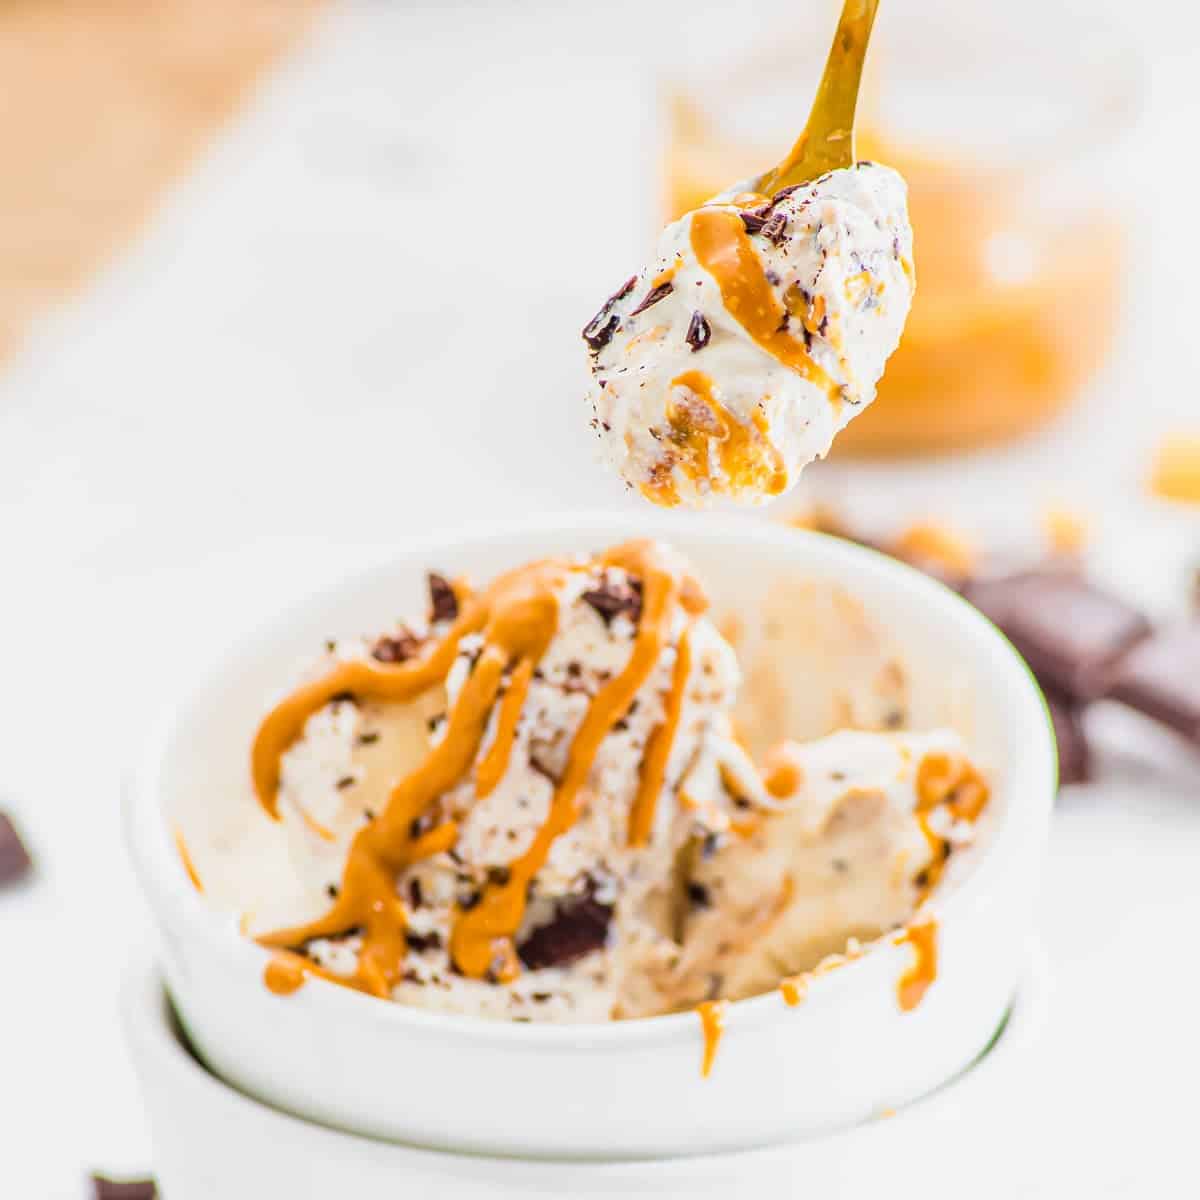
This cottage cheese ice cream turns five simple ingredients into a creamy, protein-packed frozen dessert with swirls of peanut butter and chopped dark chocolate throughout. No ice cream maker or churning needed.
Save this recipe!
I feel like we’ve officially reached the point where there’s nothing the internet hasn’t tried making with cottage cheese. Pasta sauce, bagels, pancakes, pudding and, of course, ice cream.
I held out on this one for a while. I love cottage cheese and clearly have no problem putting it in places it traditionally doesn’t belong, but I had questions about freezing it. Would it get icy? Would it freeze into a solid brick? Would that cottage cheese tang suddenly become VERY obvious once it was frozen?
Thankfully, none of those things actually came to fruition with this recipe. Using full-fat cottage cheese, blending it completely smooth and giving it a few minutes to soften before scooping makes a huge difference. And once I decided to put peanut butter and chopped dark chocolate in this version, there really wasn’t much left to be skeptical about.
A Few Reasons to Try This One
- Just 5 ingredients: The base is cottage cheese, honey and vanilla with peanut butter and dark chocolate layered throughout.
- No ice cream maker: All you need is a blender or food processor and a freezer.
- Protein from the main ingredient: Cottage cheese gives the ice cream its creamy base while naturally adding plenty of protein.
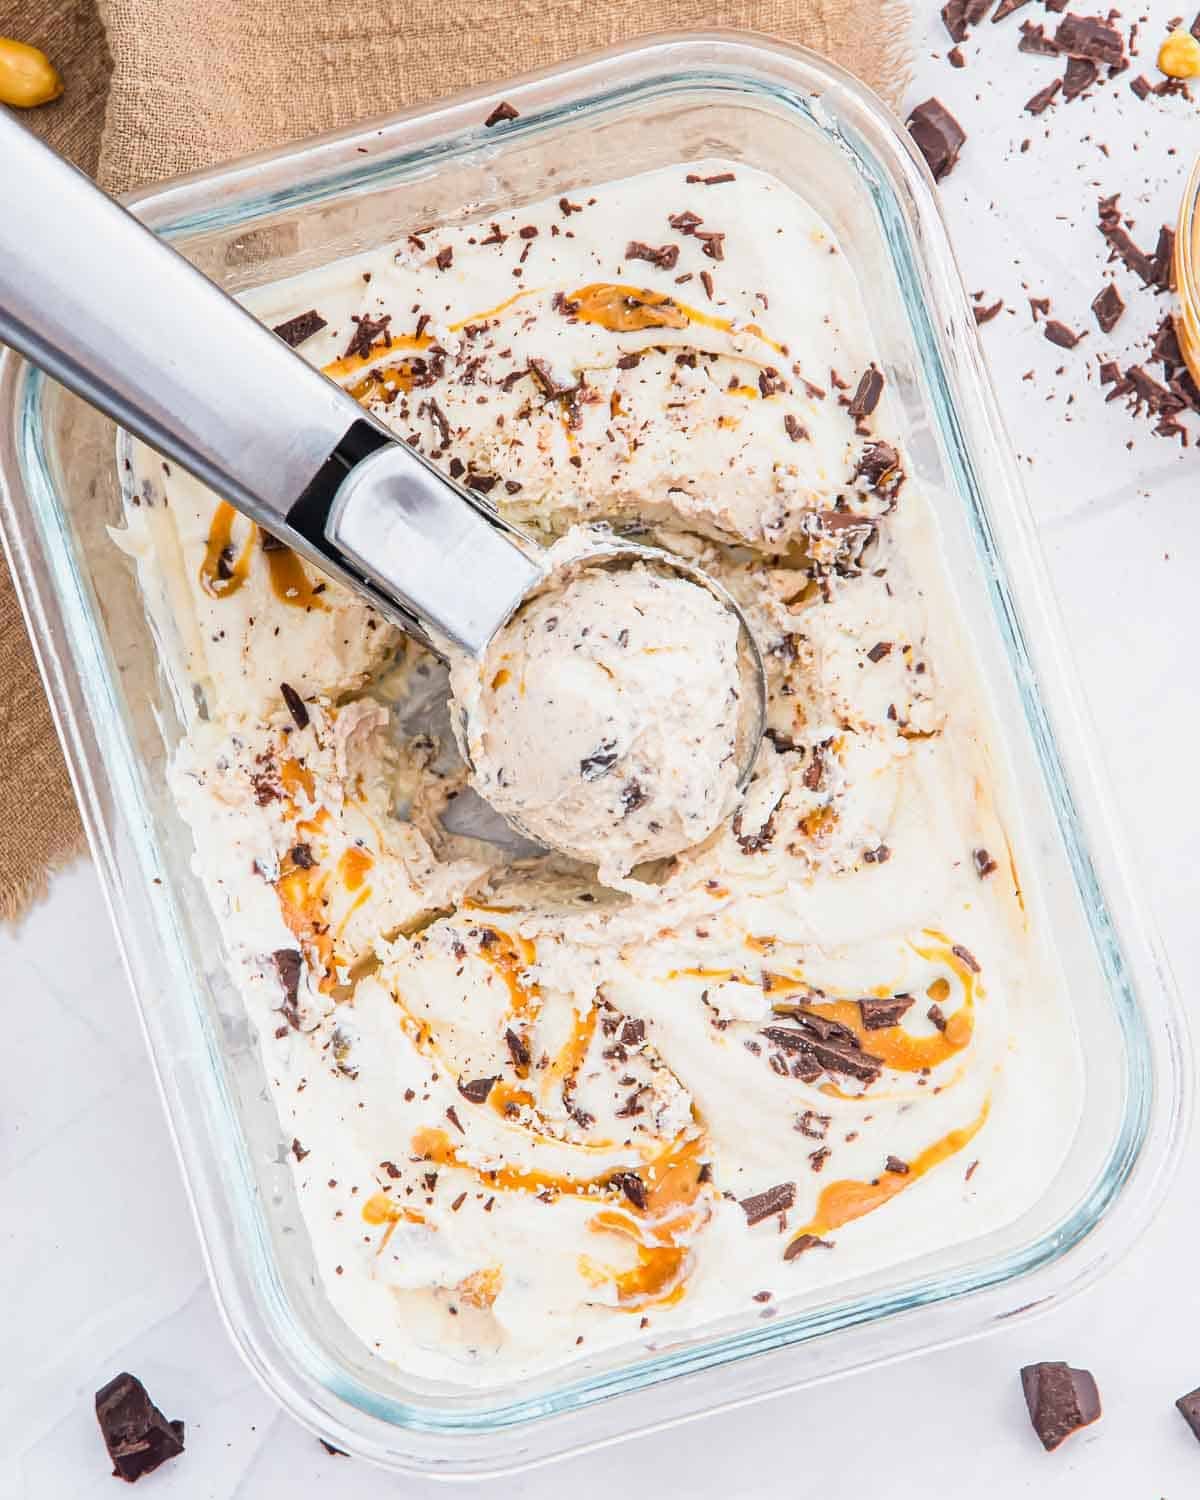
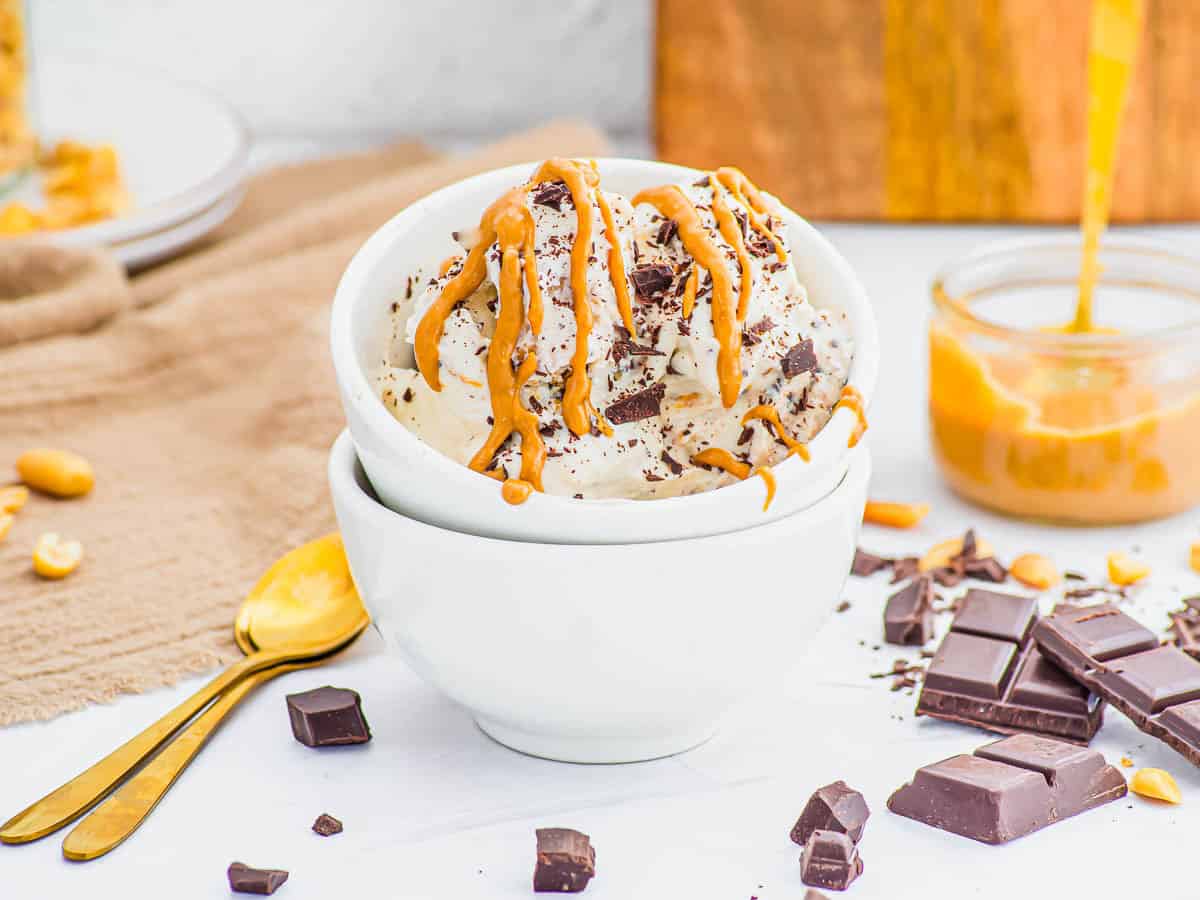
- Peanut butter + chocolate in every scoop: Layering them into the base instead of blending everything together gives you ribbons of peanut butter and little chunks of dark chocolate throughout.
But Can You Taste the Cottage Cheese?
This was my biggest question before making it too.
Once cottage cheese is blended until completely smooth, the curds disappear and the flavor becomes much milder. Honey and vanilla balance its natural tangy flavor so it tastes more like a frozen dairy dessert than a bowl of cottage cheese you stuck in the freezer.
The peanut butter and dark chocolate help here too. Since they’re layered throughout the container, almost every bite gets a little of one or both.
I’m also not going to tell you it’s indistinguishable from traditional ice cream because it isn’t. Cottage cheese ice cream is denser and freezes firmer because it doesn’t have the same amount of fat or incorporated air as churned ice cream. That’s normal for this type of recipe. But if you like healthier, higher-protein desserts, I think you’ll be pleasantly surprised by this one.
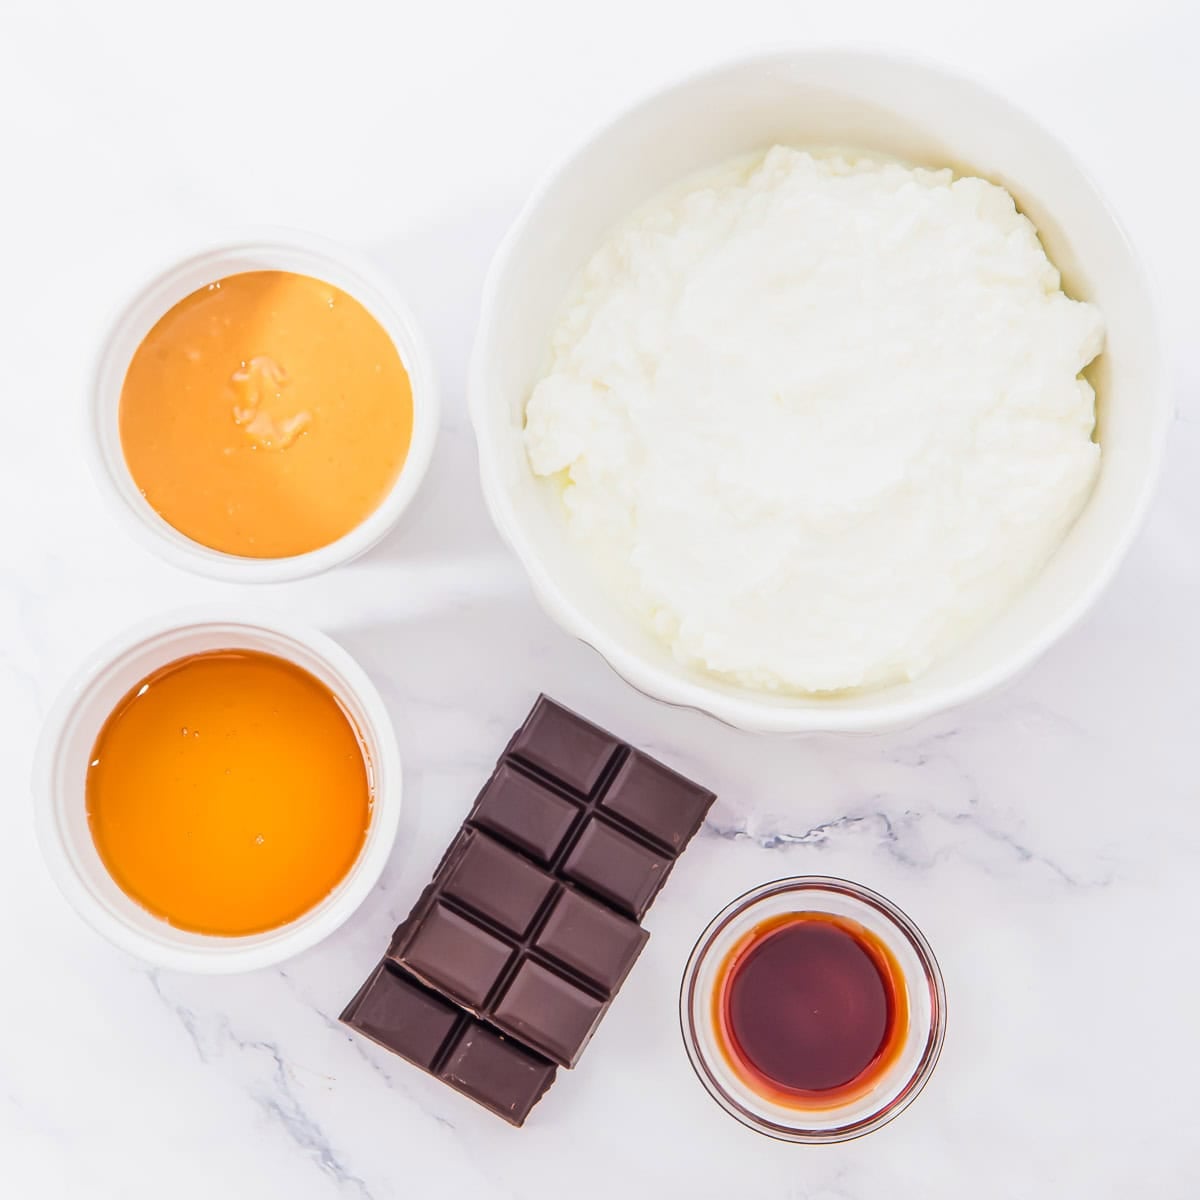
Ingredients You’ll Need
One of the best things about this recipe is how short the ingredient list is.
Full-fat cottage cheese: Use 4% cottage cheese if you can. This is one recipe where the extra fat matters because it helps create a creamier texture once frozen.
Honey: I use three tablespoons to sweeten the base. You can also use maple syrup or another sweetener you like.
Vanilla extract: A teaspoon is enough to round out the cottage cheese base and give it more of that classic ice cream flavor. If you like to see vanilla flecks in your ice cream, use vanilla bean paste instead.
Peanut butter: Rather than blending this into the cottage cheese, it gets layered and swirled throughout so you get pockets of peanut butter in every scoop.
Dark chocolate: I use chopped 70% dark chocolate (go darker if you like!). Chopping a bar gives you a mix of tiny chocolate flecks and bigger pieces, but chocolate chips will work too.
How to Make Cottage Cheese Ice Cream
This is about as low-effort as homemade ice cream gets. The food processor does most of the work, then it’s just a matter of layering everything together before freezing. Exact amounts and complete instructions are in the recipe card below.
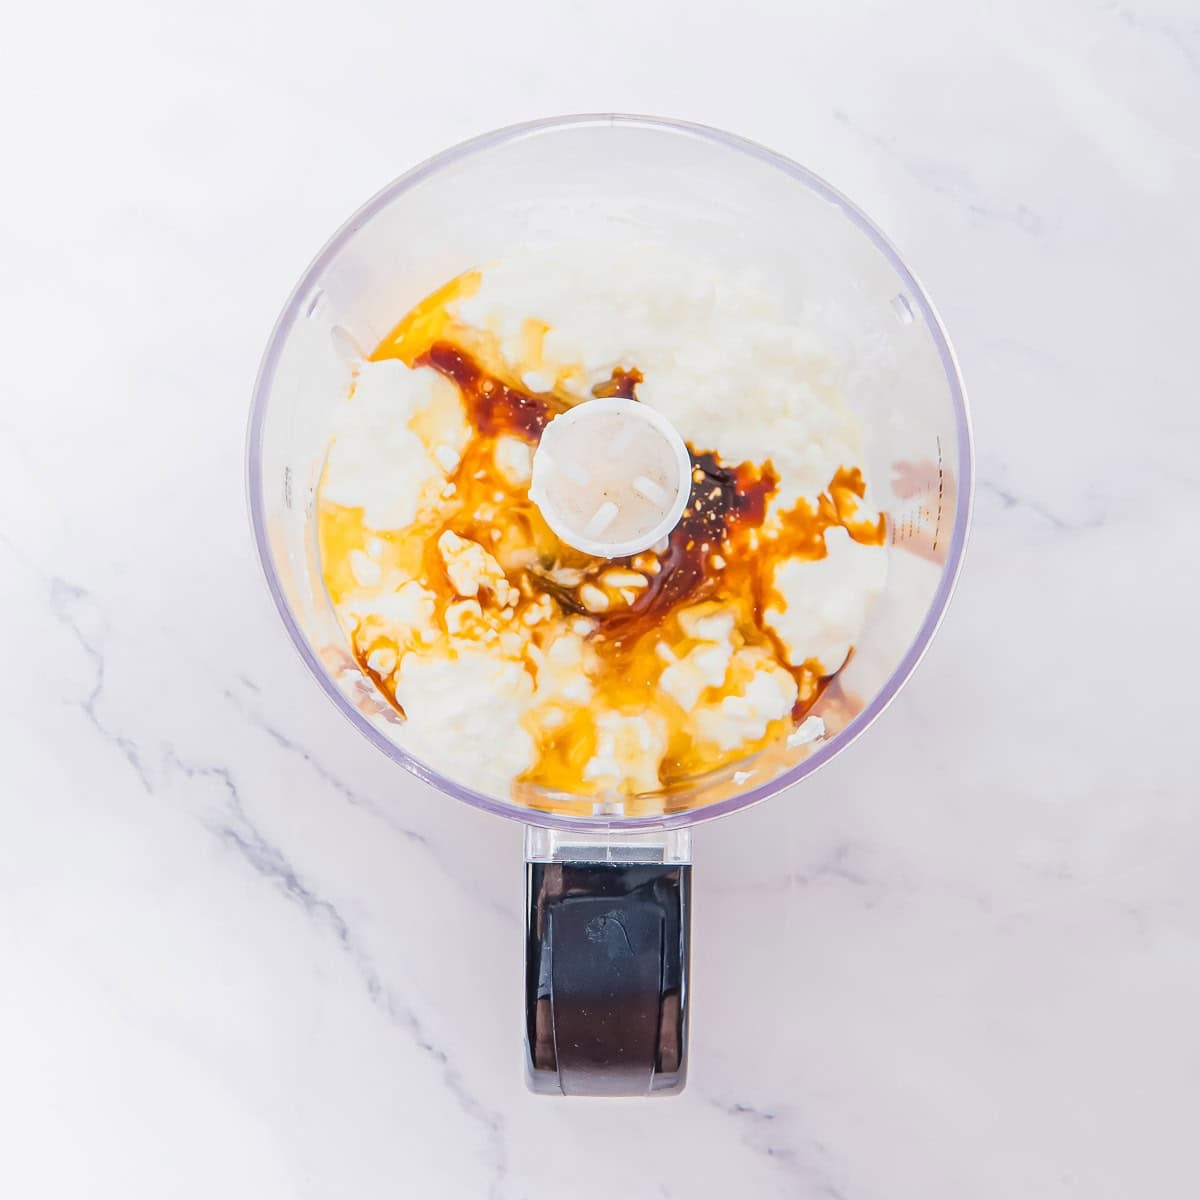
- Start with the base: add the cottage cheese, honey and vanilla to your food processor or blender.
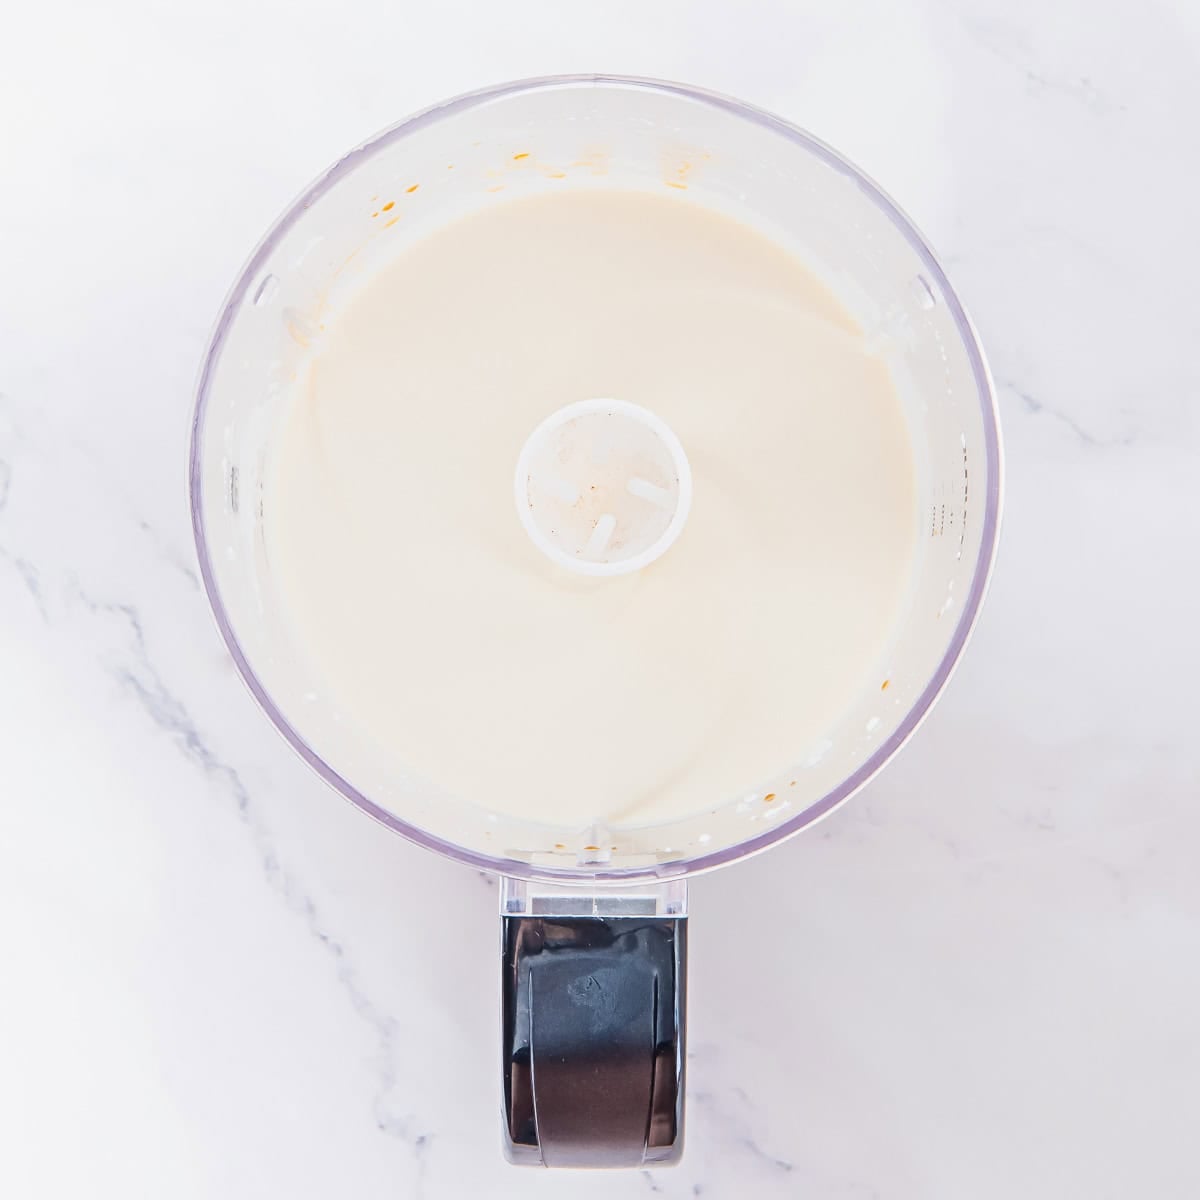
- Get it really smooth: let the machine run long enough that you can’t see any trace of the cottage cheese curds. The mixture should look silky and almost pourable.
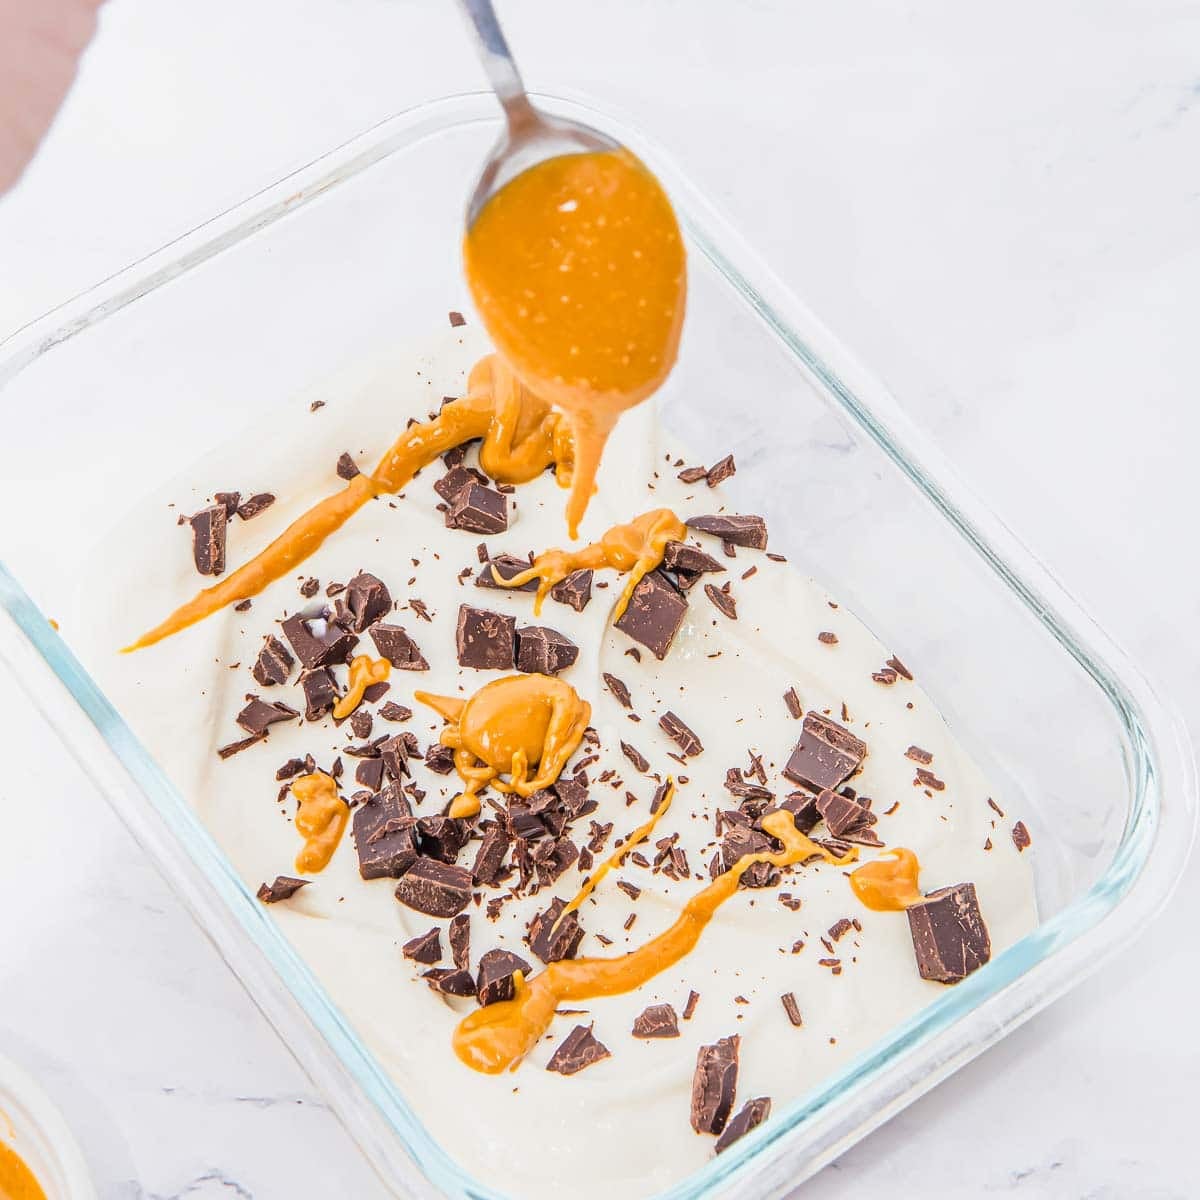
- Build the first layer: spread some of the cottage cheese mixture into your container, then scatter chocolate and spoon peanut butter over the top.
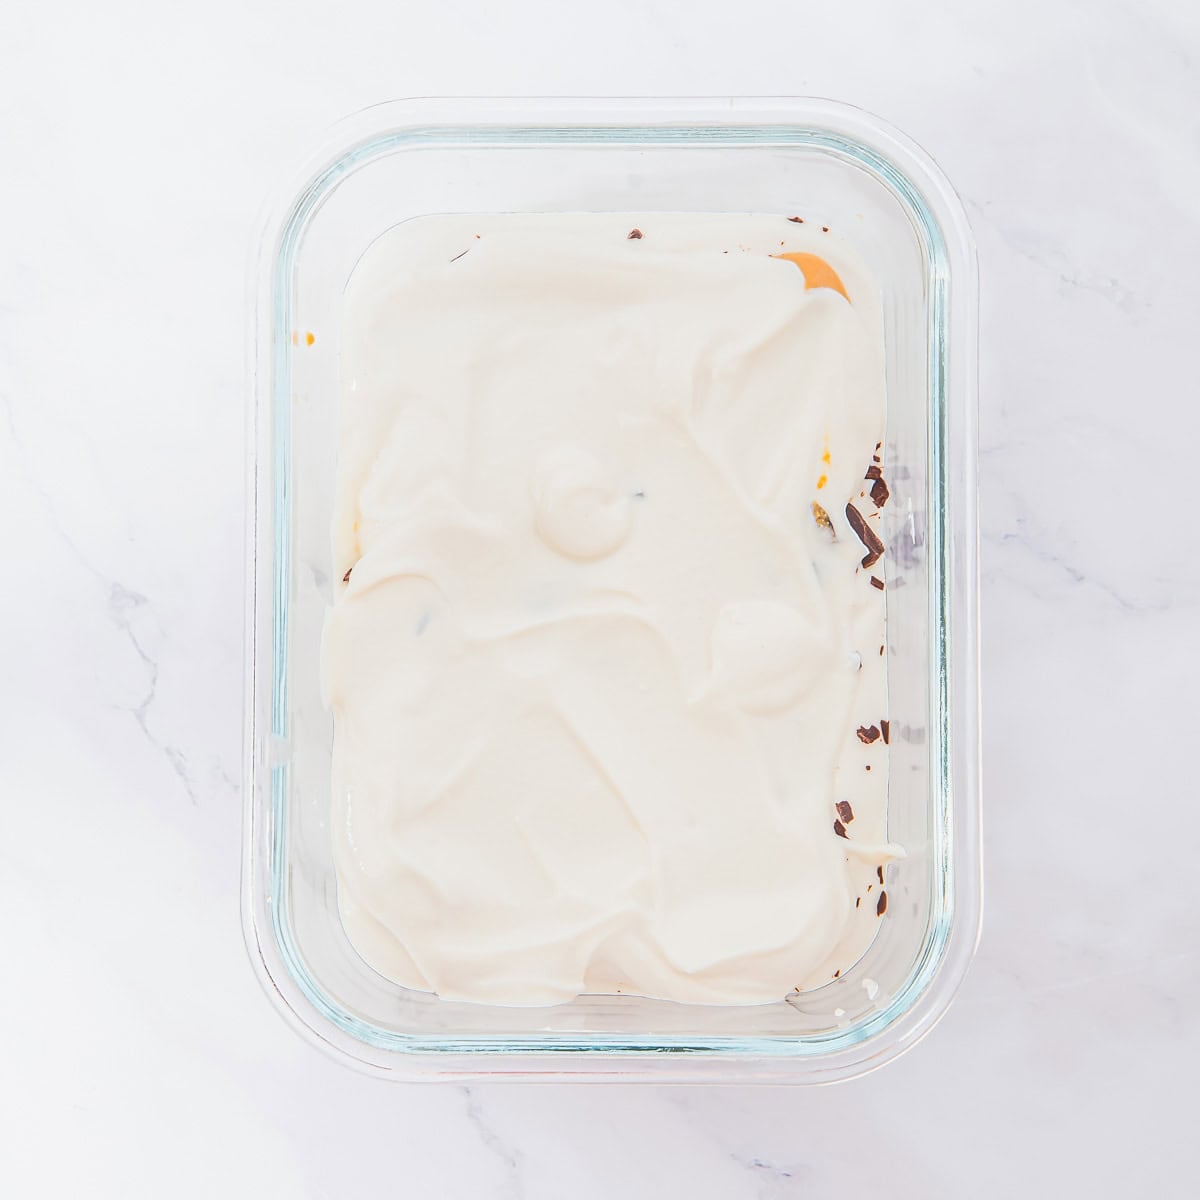
- Cover it up: add the rest of the cottage cheese mixture, spreading it across the first layer.
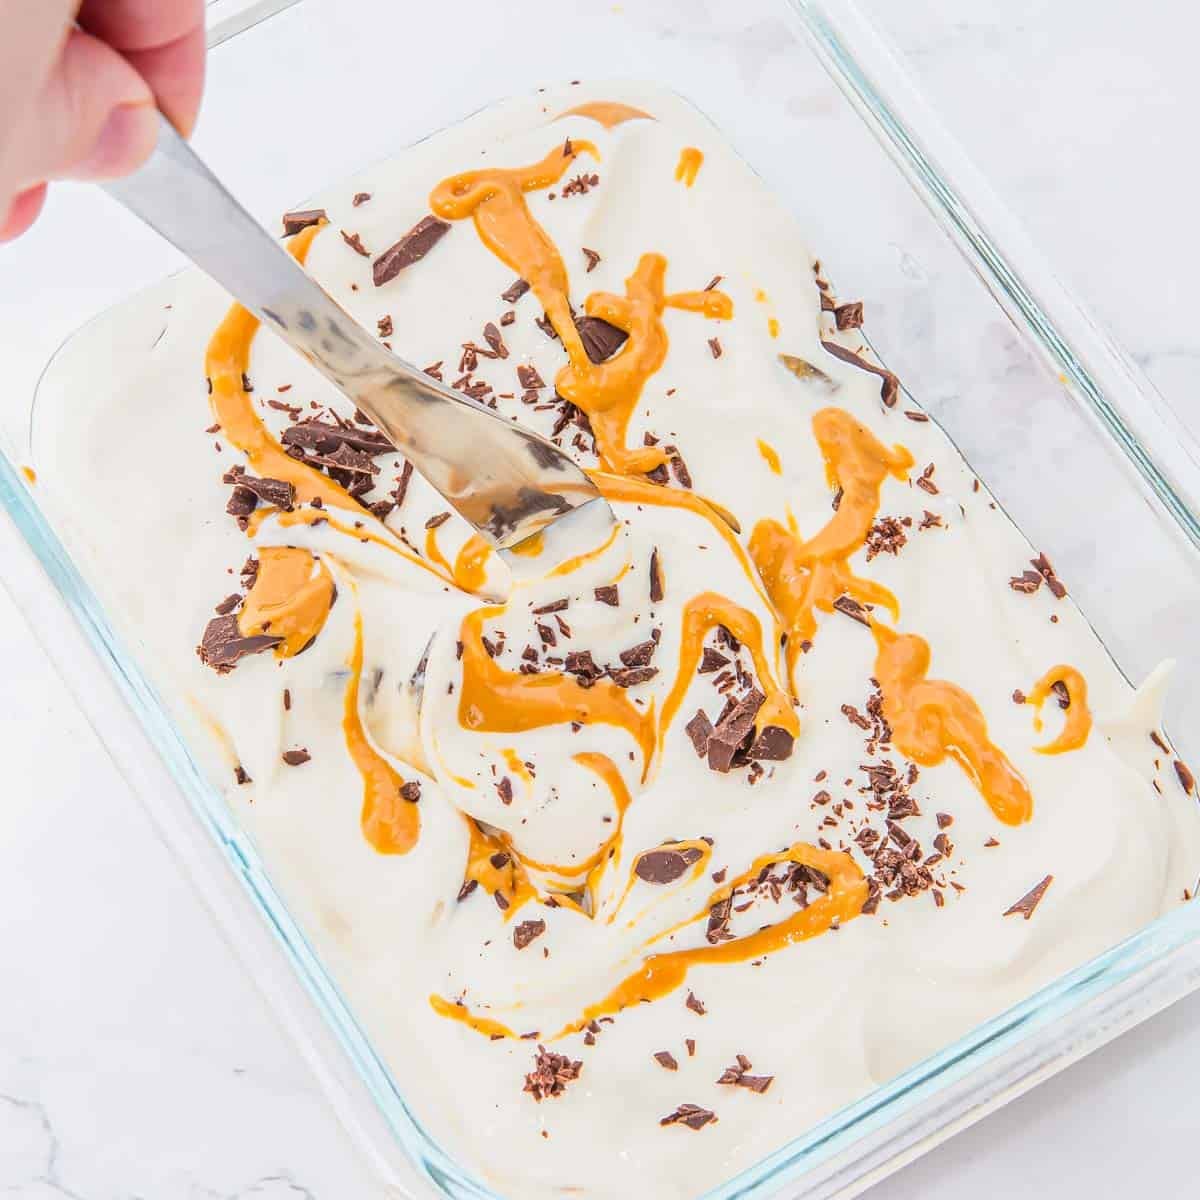
- Get those swirls: finish with more peanut butter and chocolate, then drag a knife through the mixture a few times.
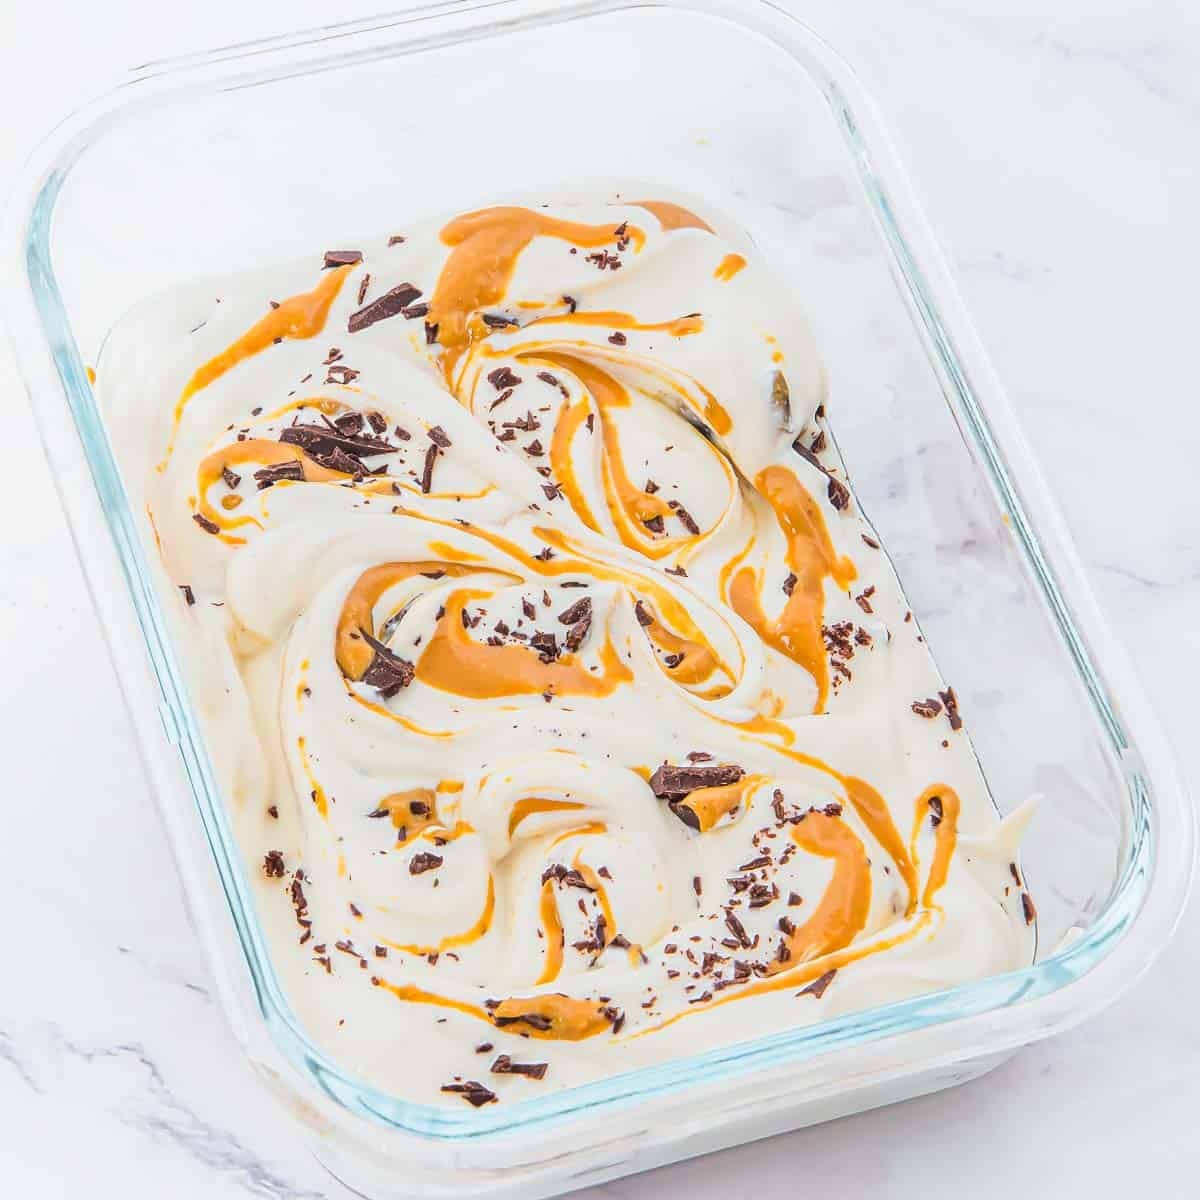
- Into the freezer: once it’s firm enough to scoop, give it a few minutes on the counter to soften before serving.
My Pro Tip
Getting the Texture Right
- Use full-fat cottage cheese. It makes a noticeable difference in the frozen texture.
- Blend it REALLY well. If the mixture is still grainy before it goes into the freezer, it’ll be grainy afterward too. Give it the full minute or two to blend.
- Taste the base before freezing. If you want it sweeter, this is the time to add more honey.
- Don’t over-freeze it. I think the texture is best after the initial 2 to 3 hour freeze.
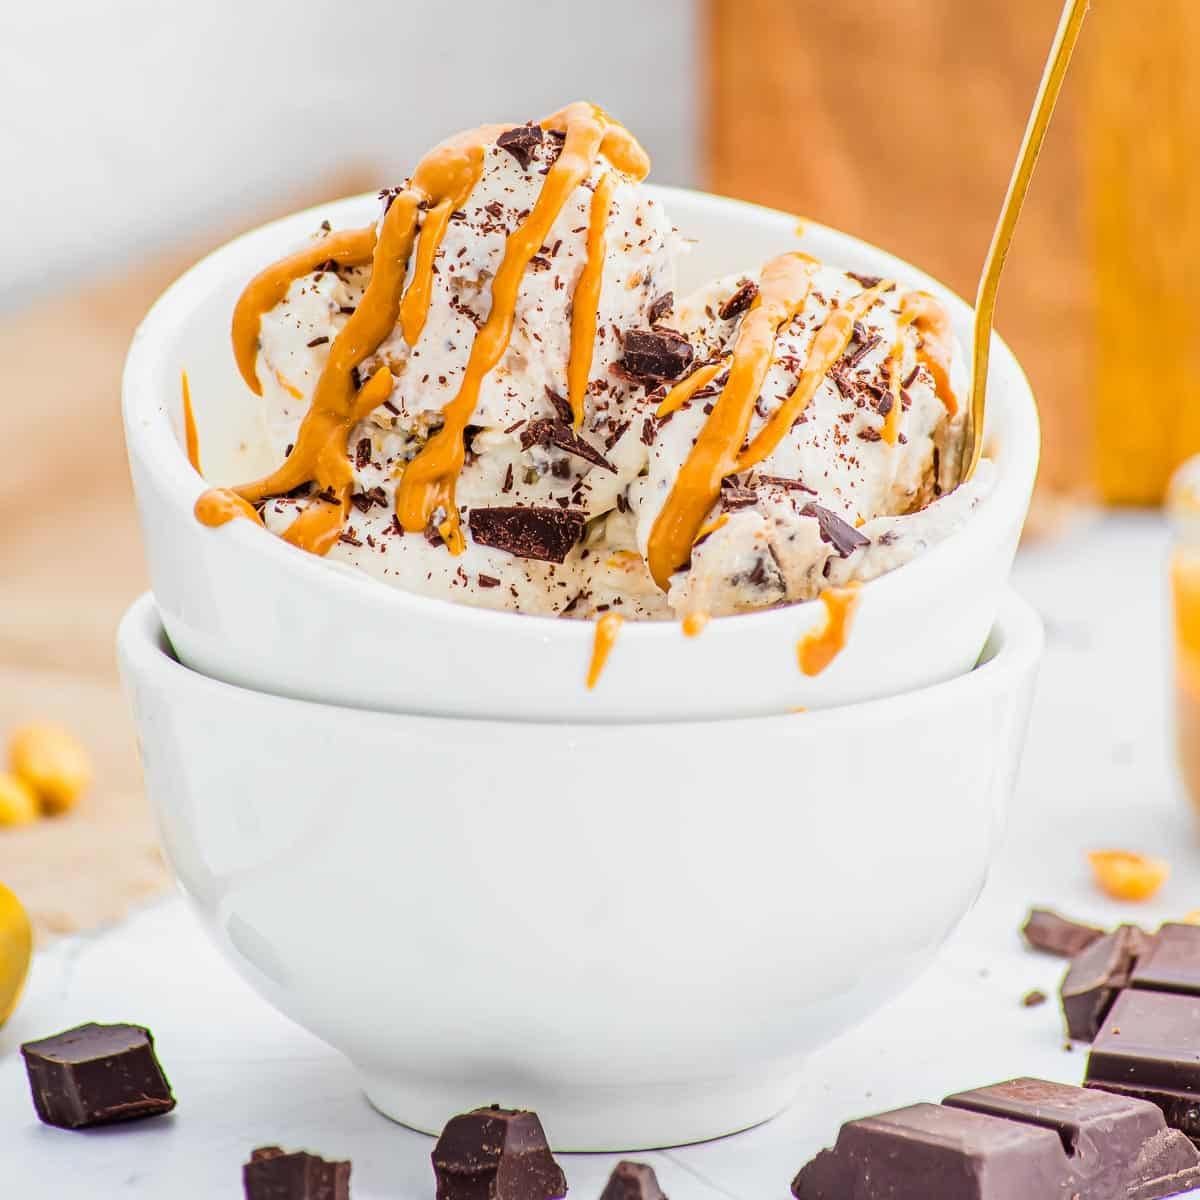
- Let it soften before scooping. If it’s been frozen longer, it’s going to be quite firm. Give it 5 to 10 minutes on the counter, or a little longer if necessary.
Why It Freezes Firmer
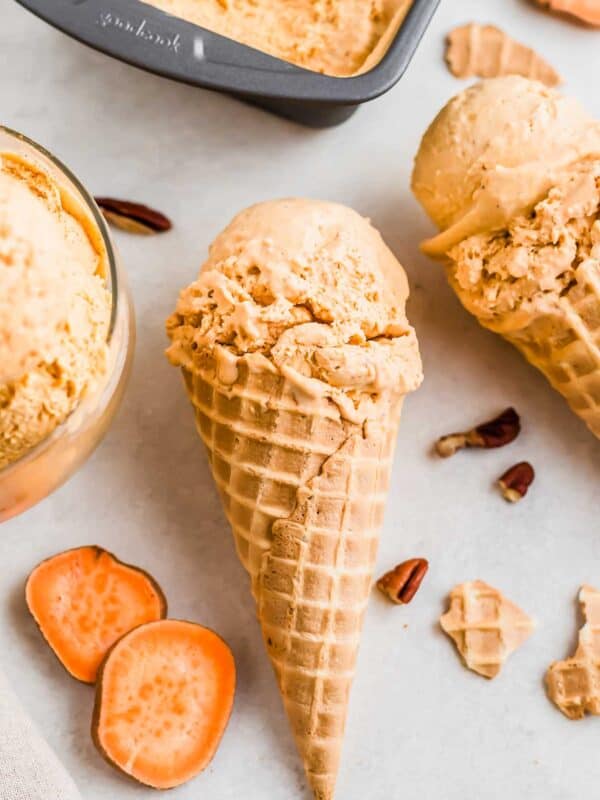
This is probably the biggest difference between cottage cheese ice cream and the regular stuff. Traditional ice cream has more fat and sugar and gets churned to incorporate air, which helps keep it soft and scoopable. You can see that more traditional process in my sweet potato ice cream recipe, which uses an ice cream maker and a higher-fat dairy base.
Cottage cheese has a higher water content and this recipe skips the churning, so a firmer texture is to be expected once it’s frozen. It’s still creamy, but don’t expect it to scoop straight from the freezer quite like a traditional pint of ice cream.
Adding Protein Powder
You can add protein powder if you want to bump up the protein even more, but I don’t think this recipe needs it. The cottage cheese is already doing that job on its own. I prefer to save the protein powder for desserts like my chocolate protein mug cake where it plays a bigger role in the recipe.
If you do add some, vanilla would be my choice. Just keep in mind that protein powder absorbs moisture and can make the base thicker, so you may need a splash of milk to get everything blending smoothly. Depending on which type of protein powder you use, it can also add grittiness to the base, so choose wisely!
Storing Cottage Cheese Ice Cream
Keep any leftovers covered in an airtight container in the freezer. The texture will get harder the longer it’s stored, so you’ll need to account for that when you’re ready for another scoop.
I prefer eating this within the first few days when the texture is at its best. It’s such a small batch and takes so little effort to make that there’s really no reason to have it hanging around in the freezer for weeks.
If frozen desserts are your thing year-round, there are plenty more ice creams, popsicles and frozen treats in my frozen dessert recipes to browse.
Cottage Cheese Ice Cream
Ingredients
- 2 cups cottage cheese, full fat is best (4%)
- 1/4 cups chopped 70% dark chocolate or chocolate chips
- 2 tablespoons peanut butter
- 3 tablespoons honey, syrup or another sweetener of choice
- 1 teaspoon vanilla extract
Instructions
- Add the cottage cheese, honey and vanilla extract to a blender or food processor.
- Blend the mixture for a minute or two until creamy and smooth.
- Transfer half of the mixture to a freezer-safe container or loaf pan (5×7 inches).
- Sprinkle some chopped chocolate over the mixture and add 1 tablespoon of peanut butter.
- Pour in the remaining ice cream mixture on top and sprinkle the remaining chocolate and the second tablespoon of peanut butter. Use a knife to gently swirl the peanut butter into the mixture if desired.
- Place in the freezer for 2-3 hours or refrigerate overnight until firm.
- Before serving, let the ice cream sit at room temperature for 5-10 minutes to soften for the creamiest texture.
- Browse without ads
- Meal plans made for you
- Member-only recipes
- Print and get cooking
Notes
Nutrition
Nutrition information is automatically calculated, so should only be used as an approximation.

Gina Matsoukas is an AP syndicated writer. She is the founder, photographer and recipe developer of Running to the Kitchen — a food website focused on providing healthy, wholesome recipes using fresh and seasonal ingredients. Her work has been featured in numerous media outlets both digital and print, including MSN, Huffington post, Buzzfeed, Women’s Health and Food Network.