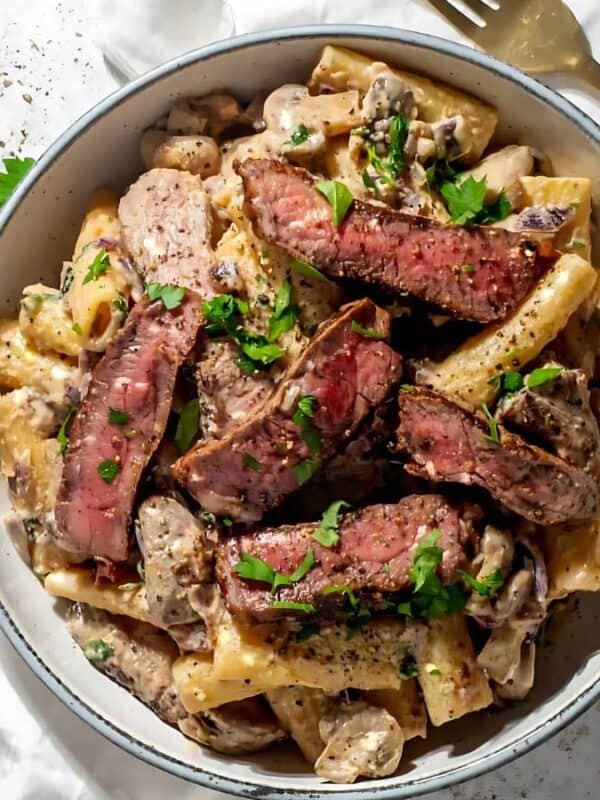
If you think you’ve mastered the art of cooking steak, think again. There’s a secret method that most people don’t know about, and it’s a total game-changer. Imagine biting into a perfectly cooked, juicy steak that’s bursting with flavor. Curious? Here’s the hidden technique that will change your perspective on the grill entirely.
What Is Reverse Searing?

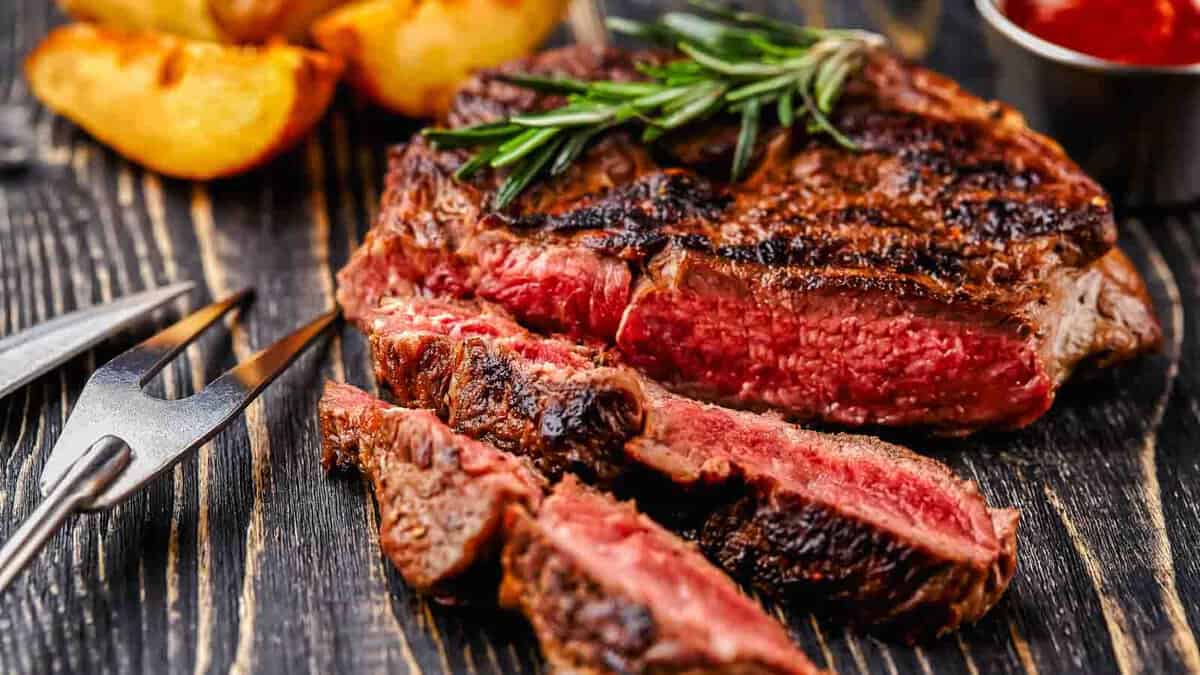
Reverse searing is a two-part cooking method where the meat is first roasted at a low temperature and then seared over high heat. This technique allows for an even, edge-to-edge interior cook with a deliciously crispy outer crust. Starting with a slow roast draws out deep, rich flavors and tenderizes the meat, setting the stage for a quick, fiery sear that locks in juices. Reverse searing not only optimizes texture and moisture retention but also gives you precise control over the desired degree of doneness.
What Cuts of Meat It Works For
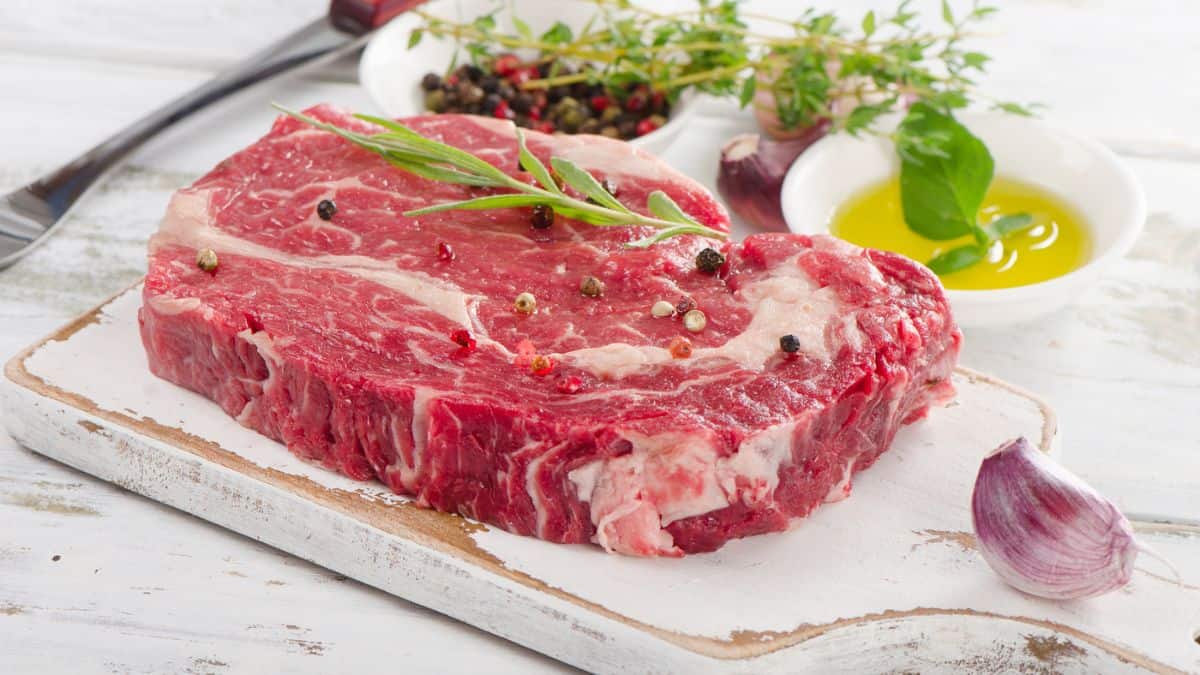
Reverse searing is suitable for a variety of steaks, from luxurious filet mignon to more economical top sirloin, ideally those that are thick (1 ½ to 2 inches) and well-marbled. Favorites include:
- Ribeye
- New York strip
- T-bone
However, it’s not limited to just steak; beef roasts and other meats like venison or thick-cut pork chops are also excellent candidates.
Stay away from thinner cuts, which risk overcooking and stick to other cooking methods like grilling or stir-frying instead.
How It Compares To Grilling

Reverse searing and grilling are two distinct methodologies for cooking meat, each with its unique approach and results. Grilling involves cooking meat quickly over high heat, which imparts a smoky flavor and a charred exterior but can lead to uneven cooking and less moisture retention.
In contrast, reverse searing starts with slowly roasting the meat at a low temperature to achieve an even doneness from edge to edge, followed by a quick sear at high heat to create a crispy, caramelized crust.
The Overnight Dry Brine

An optional, but highly recommended overnight dry brine can elevate the reverse searing technique by bringing out the meat’s flavor and texture. This process involves salting the steak and letting it rest uncovered in the refrigerator overnight, which helps to season it deeply and draw out moisture for a better sear.
The salt also breaks down proteins within the meat, resulting in a juicier, more tender steak once cooked. Incorporating this step ensures a crustier sear and a more flavorful bite.
The Low and Slow Cook

The low and slow phase of reverse searing is crucial for achieving even cooking and optimal tenderness. Done between 200-275°F, the steak cooks gently for a longer period of time. This method allows the entire cut to reach the target internal temperature without the edges overcooking.
Oven Method

To reverse sear a steak using the oven method, start by preheating your oven to a low setting, between 200-275°F (93-135°C). Place your seasoned steak on a rack set over a baking sheet; this setup allows air to circulate around the steak, ensuring it cooks evenly. Let the steak roast slowly until it reaches an internal temperature about 10-15°F below your desired doneness — this usually takes about 45-60 minutes for a 2-inch steak.
Grill Method
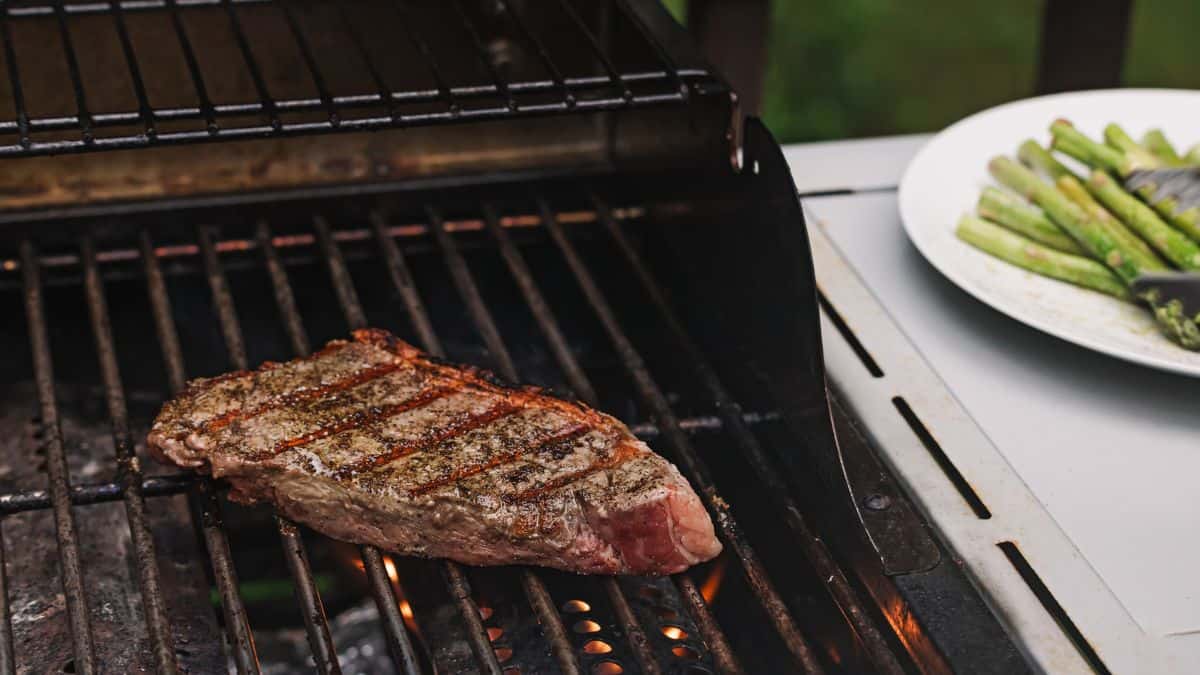
For the grill method, set up your grill — charcoal or gas — for indirect cooking and preheat to a low heat of around 225-275°F. Place the steak on the cooler side of the grill to slowly come up to temperature. This indirect heat mimics the oven’s even heat environment, allowing the steak to cook slowly and evenly. After the steak reaches the target internal temperature (which should be 10-15°F below the desired doneness), it’s ready for the final sear.
Use The Right Equipment

When reverse searing, precision is key, which makes the right equipment crucial. At the top of the list is an instant-read thermometer, an indispensable tool for this method. This device allows you to accurately check the internal temperature of your steak, ensuring it reaches the exact level of doneness desired before searing.
Sear It Off
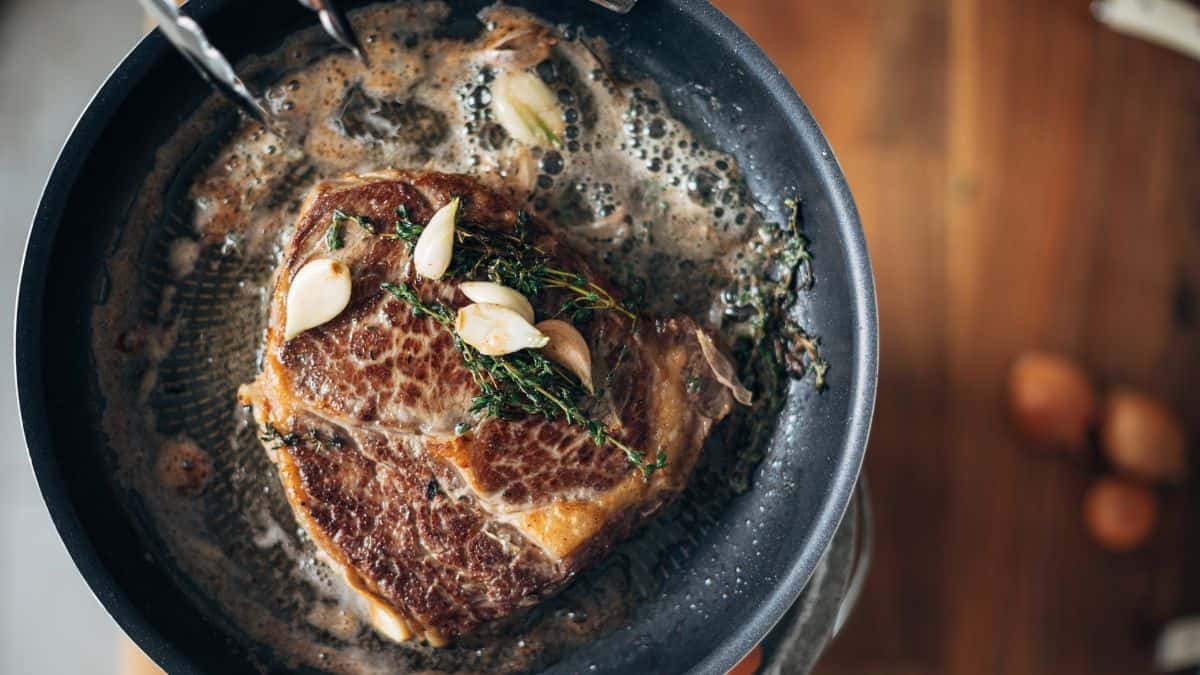
The final sear is the pivotal step of the reverse searing method, crucial for adding that rich, caramelized crust to your steak. Whether on the stovetop or grill, this stage should be done quickly over high heat.
On the stovetop, heat a cast iron skillet until it’s smoking hot, then add a bit of high-smoke-point oil or butter before placing your steak in the pan. Sear for about one to two minutes on each side, ensuring the surface gets a beautifully browned crust without overcooking the interior.
For those preferring the grill, after the steak has slowly reached the desired internal temperature through indirect heat, transfer it to the hottest part of the grill. Here, the intense direct heat will sear the steak swiftly, charring the surface while locking in moisture.
The key in both methods is speed; the steak should spend minimal time on the high heat to avoid drying out.
Reverse Seared Tri Tip

The reverse sear on this simple Tri-Tip recipe locks in flavor, creates a wonderful crispy crust and results in a tender, juicy steak that’s unbeatable!
Get the Recipe: Reverse Seared Tri Tip
Reverse Seared Hanger Steak

Try the Reverse Seared Hanger Steak with Bourbon Pan Sauce for an impressive meal option. The steak is finished off with a sear at a high temperature to develop a crisp crust, complemented by a rich bourbon sauce that enhances the robust flavors of the meat.
Get the Recipe: Reverse Seared Hanger Steak
Reverse Seared Flat Iron Steak Recipe

Our Reverse-Seared Flat Iron Steak is prepared by first smoking the steaks on a pellet grill, which infuses the meat with flavor while it cooks uniformly. Following the smoking phase, the steaks are seared off at high temperatures on a gas griddle or in a cast iron skillet to achieve a perfect crust.
Get the Recipe: Reverse Seared Flat Iron Steak Recipe
8 Foods You Should Never Cook In A Cast Iron Pan

Cast iron skillets are celebrated for their durability and versatility in the kitchen, handling everything from searing steaks to baking cornbread with ease. However, they come with their own set of rules, especially when it comes to what should or shouldn’t be cooked in them. Certain foods can damage the seasoning of your pan or just make for a culinary headache due to sticking and interacting with the iron. Here’s a breakdown of the worst foods to cook in a cast iron pan, ensuring your skillet stays pristine and your meals turn out great.
Read it Here: 8 Foods You Should Never Cook In A Cast Iron Pan
11 Tips That Will Have You Grilling Like A Pro This Season

Grilling is an art that balances skill with a touch of science, and mastering it can transform your backyard meals into gourmet events. This guide lays out 11 essential tips that will elevate your grilling game and turn you into a grill master this season. From choosing the right type of grill to mastering the heat needed for perfect sear marks, we cover everything you need to know.
Read it Here: 11 Tips That Will Have You Grilling Like A Pro This Season
Select images provided by Depositphotos.

Gina Matsoukas is an AP syndicated writer. She is the founder, photographer and recipe developer of Running to the Kitchen — a food website focused on providing healthy, wholesome recipes using fresh and seasonal ingredients. Her work has been featured in numerous media outlets both digital and print, including MSN, Huffington post, Buzzfeed, Women’s Health and Food Network.